Introduction
Understanding how to repair engine step by step is crucial for anyone looking to tackle engine problems effectively. This comprehensive guide is designed to walk you through the intricate process of engine repair, from initial diagnosis to the final checks.
Whether you’re an experienced mechanic or a keen DIY enthusiast, mastering these steps can ensure your engine runs smoothly and reliably. Join us as we delve into the essentials of engine repair, providing you with the knowledge and confidence to perform repairs with precision and care.
Preliminary Assessment
Embarking on the journey of “How to repair engine step by step?” begins with a crucial preliminary assessment. This initial phase is foundational, setting the stage for a successful repair process by accurately identifying the issues at hand. Here’s how to conduct this essential evaluation:
Visual Inspection
Start with a thorough visual examination of the engine. Look for obvious signs of wear, damage, or leaks. Check for oil spots, coolant leaks, or any irregularities that could indicate underlying problems.
- Visual Clues: Discoloration, residue, or pooling fluids under the vehicle can provide immediate clues to potential engine issues.
Listening to the Engine
A running engine can tell you a lot about its condition. Listen for unusual noises like knocks, hisses, or rattles that deviate from the normal engine sound profile.
- Auditory Diagnostics: These sounds can indicate a range of issues, from bearing wear to compression leaks, guiding the next steps in the repair process.
Checking Engine Codes
Utilize an OBD-II scanner to check for any stored diagnostic trouble codes (DTCs) in the vehicle’s onboard computer. These codes can pinpoint specific malfunctions within the engine system.
- Diagnostic Insights: The codes provide targeted information, helping to narrow down the potential causes of engine problems without guesswork.
Assessing Engine Performance
Evaluate the engine’s performance through its responsiveness, idle stability, and if possible, a road test. Issues like stalling, rough idling, or hesitation during acceleration can offer vital hints about engine health.
- Performance Evaluation: These observations are critical in diagnosing problems related to fuel delivery, ignition, or air intake systems.
Preliminary Fluid Check
Inspect the engine’s oil, coolant, and other fluid levels and conditions. Discoloration, contamination, or unusual fluid levels can indicate specific issues such as gasket leaks or coolant mixing with oil.
- Fluid Health: The condition of these fluids can often reflect the engine’s internal state, suggesting areas that may require closer inspection.
Where to Add Images:
- Engine Visual Inspection Guide: Images illustrating key areas to inspect visually, highlighting common signs of wear or damage.
- OBD-II Scanner Usage: A step-by-step photo guide or diagram showing how to connect and use an OBD-II scanner to read engine codes.
- Engine Performance Checklists: Visual aids or checklists that detail what performance aspects to assess and how to interpret different engine behaviors during the evaluation.
Gathering Necessary Tools and Parts
A crucial step in the process of “How to repair engine step by step?” is gathering all the necessary tools and parts before commencing the repair. Having the right tools at hand not only streamlines the repair process but also ensures that you can tackle the job efficiently and effectively. Here’s a guide to help you prepare:
Essential Tools for Engine Repair
- Basic Hand Tools: A set of wrenches, sockets, and screwdrivers are indispensable for various tasks, such as removing bolts and screws.
- Specialty Automotive Tools: Depending on the engine and the specific repair, you might need torque wrenches, a pulley puller, or an engine hoist.
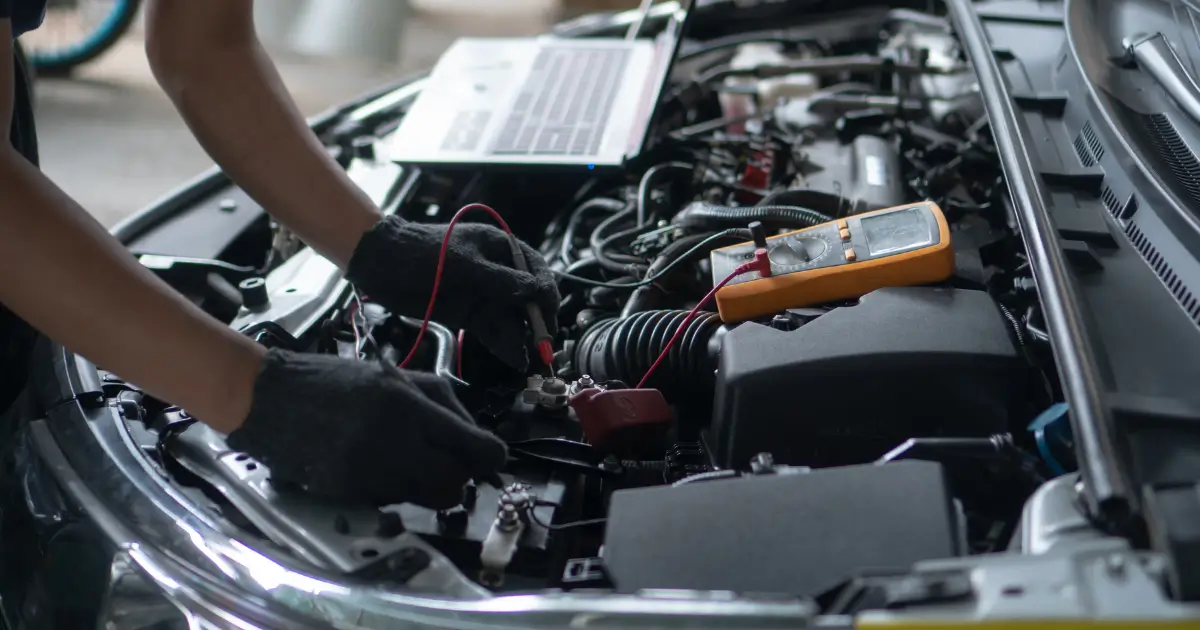
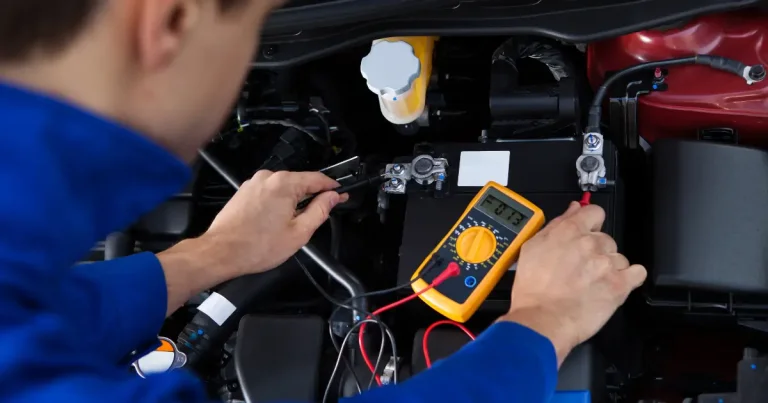
- Diagnostic Tools: OBD-II scanners and multimeters are crucial for diagnosing issues and ensuring the engine is functioning correctly post-repair.
Having a well-organized toolkit can significantly impact the ease and success of your repair work.
Identifying and Acquiring the Correct Parts
- Reference the Vehicle’s Manual: Always consult the vehicle’s service manual to determine the exact parts and specifications needed for your engine model.
- Quality Parts: Opt for OEM (Original Equipment Manufacturer) parts or high-quality aftermarket options to ensure reliability and compatibility with your engine.
Ensure you have all the necessary replacement parts before starting the repair to avoid any interruptions.
Organizational Tools
- Parts Organizer: Use trays or organizers to keep small parts like bolts and nuts accounted for and to prevent them from getting lost.
- Documentation Tools: Keep a camera or smartphone handy to take pictures of the engine layout and wiring before disassembly, which can be invaluable during reassembly.
Safety Equipment
- Personal Protective Gear: Safety glasses, gloves, and appropriate clothing are essential to protect yourself from potential hazards like sharp edges, hot surfaces, or harmful chemicals.
Where to Add Images:
- Tool and Parts Layout: Images showcasing a well-organized array of tools and parts needed for the engine repair, providing a visual checklist for readers.
- Step-by-Step Tool Use: Visual guides or diagrams demonstrating the correct use of specific tools, especially for more complex tasks or specialized equipment.
Preparation and Safety
When addressing the task of “How to repair engine step by step?”, preparation and safety are paramount. Before diving into the mechanical work, setting up a safe and efficient workspace is crucial. This preparation not only facilitates a smoother repair process but also ensures your safety and the safety of those around you. Here’s how to approach this vital step:
Setting Up Your Workspace
- Clean and Organize: Start with a clean, well-lit, and spacious area to work in. An uncluttered workspace reduces the risk of accidents and makes it easier to keep track of tools and parts.
- Adequate Lighting: Ensure good lighting to avoid missing any crucial details during the repair. Portable lights or adjustable workshop lamps can be particularly helpful.
Images showcasing an ideal workspace setup, highlighting organization and lighting, can be very illustrative for readers.
Safety Measures
- Personal Protective Equipment (PPE): Always wear appropriate safety gear, including safety glasses to protect your eyes from debris, sturdy gloves to shield your hands, and ear protection if you’re using loud tools.
- Fire Safety: Keep a fire extinguisher nearby, especially if you’re working near flammable liquids or using any heat-generating equipment.
Photographs or icons representing essential PPE can serve as a useful visual reminder.
Handling Tools and Equipment
- Proper Tool Usage: Familiarize yourself with all the tools and how to use them correctly. Misusing tools can lead to injuries or damage to the engine.
- Secure the Vehicle: If you’re working under the vehicle, ensure it’s properly hoisted and supported with jack stands. Never rely solely on a hydraulic jack for support.
Including images or diagrams on how to correctly use automotive tools or secure a vehicle can be educational and enhance safety.
Engine and Area Preparation
- Disconnect the Battery: Always disconnect the battery before starting any repair to prevent electrical shorts, unintended engine cranking, or other electrical hazards.
- Ventilation: Work in a well-ventilated area to avoid inhalation of toxic fumes, especially if you’re working indoors.
Visual aids highlighting the steps to safely disconnect a battery and ensure proper ventilation could be valuable.
Mental Preparation
- Understand the Task: Be clear about the repair process, the expected outcomes, and the potential risks. Understanding what you’re about to do helps in avoiding mistakes and accidents.
- Stay Focused: Engine repair requires attention to detail. Avoid distractions and stay focused on the task at hand to ensure quality work and safety.
Disassembly Process
The disassembly process is a critical phase in the comprehensive guide on “How to repair engine step by step?” It involves carefully taking apart the engine components, a task that requires precision, patience, and organization. Here’s how to approach the disassembly with efficiency and accuracy:
Understanding the Engine Layout
- Study the Engine Design: Familiarize yourself with the engine’s layout, components, and how they fit together. Consulting the vehicle’s service manual can provide you with a detailed map of the engine assembly.
- Labeling Components: As you remove parts, label them and their connecting hardware. This can be as simple as tagging them with numbered tape or taking detailed notes.
Images or diagrams from the service manual or photos highlighting the engine layout and component labeling can be invaluable.
Organizing the Disassembly
- Sequential Removal: Follow a systematic approach by removing components in the order specified by the service manual. This ensures that each part is safely and efficiently removed without damaging other engine components.
- Documenting the Process: Take photos or videos at each step of the disassembly. This visual documentation can be incredibly helpful during reassembly, ensuring every part and screw goes back to its original place.
Including step-by-step images or a video snippet showing critical steps in the disassembly process can provide clear guidance.
Handling Engine Components
- Care with Components: Handle each part with care to avoid damage. Engine components can be intricate and expensive to replace, so it’s crucial to treat them gently and store them safely once removed.
- Clean as You Go: Wipe down each part as it’s removed. This not only helps in inspecting the component for wear or damage but also ensures that you’re working with clean parts during reassembly.
Photographs showing the proper handling and cleaning of engine components would be beneficial here.
Special Considerations
- Dealing with Stuck Parts: Encounter stuck bolts or parts with patience. Use penetrating oil, the correct tools, and the right technique to avoid breaking or damaging parts.
- Organize Removed Parts: Use trays, bags, or boxes to organize parts as they’re removed. Keeping parts organized simplifies the reassembly process and ensures no small components are lost.
Images illustrating the technique for removing challenging components, or how to organize and store removed parts, can be practical and informative.
Safety and Precision
- Stay Methodical: Rushing through the disassembly can lead to mistakes or overlooked issues. Take your time to ensure each step is completed correctly and safely.
- Check for Wear and Damage: As you remove each component, inspect it for signs of wear, damage, or fatigue. Identifying issues during disassembly can save time and prevent future engine problems.
Inspecting and Cleaning Engine Components
A vital step in the guide on “How to repair engine step by step?” is the inspection and cleaning of the engine components. This stage is crucial for identifying wear, damage, or any issues that could compromise the engine’s performance. Proper inspection and cleaning can extend the life of the engine and ensure its efficient operation. Here’s how to approach this essential task:
Detailed Component Inspection
- Visual Examination: Carefully inspect each component for signs of wear, cracking, corrosion, or damage. Pay special attention to high-wear parts like belts, hoses, gaskets, and seals.
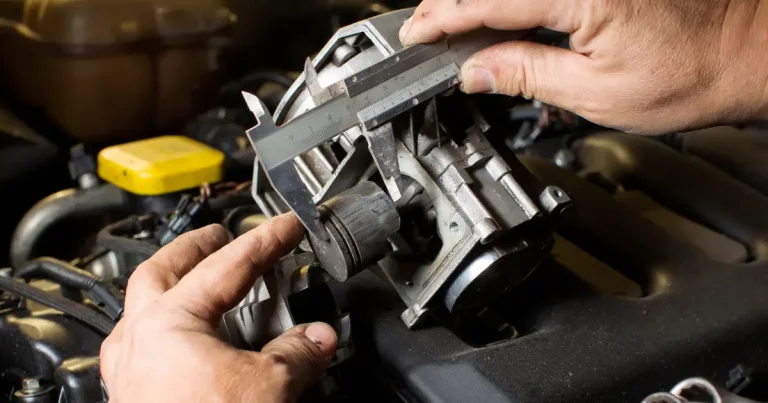
- Measure Wear: Use micrometers, calipers, or other measuring tools to check the specifications of components against the manufacturer’s recommended tolerances. Parts that are out of specification will need replacement or further attention.
Including images or diagrams showing how to measure components and identify wear can be incredibly helpful for readers.
Cleaning Engine Parts
- De-greasing: Remove oil, grease, and dirt using an appropriate de-greasing agent, ensuring that the cleaning solution is compatible with the engine materials.
- Detail Cleaning: Use brushes, cloths, and specialized cleaning tools to clean hard-to-reach areas and remove built-up grime or deposits.
Photographs demonstrating the cleaning process, focusing on before-and-after scenarios, can visually communicate the effectiveness of thorough cleaning.
Checking for Blockages
- Fluid Passages: Ensure that oil and coolant passages are clear of any blockages or debris. A blockage can lead to serious engine issues, such as overheating or lubrication failure.
- Air Passages: Inspect the intake and exhaust paths for obstructions that could hinder airflow, affecting the engine’s performance and efficiency.
Images illustrating how to check for and clear blockages in fluid and air passages can guide readers through this crucial step.
Assessing Gaskets and Seals
- Integrity Check: Examine gaskets and seals for brittleness, cracks, or signs of leaking. These components are critical for preventing fluid leaks and maintaining pressure within the engine.
- Replacement Consideration: Any damaged or worn gaskets and seals should be replaced to ensure a good seal and to prevent future engine issues.
Visual aids highlighting common wear patterns on gaskets and seals can assist readers in identifying parts that need replacement.
Organizing for Reassembly
- Systematic Approach: Keep components organized and in order for reassembly. Ensuring that everything is clean, inspected, and ready to go back in its place will facilitate a smoother reassembly process.
- Final Inspection: Conduct a final review of all parts post-cleaning to ensure no issues were missed and that everything is in optimal condition for reassembly.
Photos or videos showcasing an organized workflow for inspecting, cleaning, and preparing engine components for reassembly can provide a practical framework for readers to follow.
Replacing or Repairing Engine Parts
A critical stage in the process of “How to repair engine step by step?” involves the careful replacing or repairing of engine parts. This phase is where the actual restoration or enhancement of the engine’s functionality occurs. Correctly addressing this step ensures the longevity and efficiency of the engine post-repair. Here’s how to navigate this crucial part of the engine repair process:
Identifying Parts for Replacement or Repair
- Wear and Damage Assessment: Evaluate which components are beyond repair and need replacement based on the inspection results. Commonly replaced items include gaskets, seals, belts, and hoses.
- Repair Viability: Determine if any parts can be repaired instead of replaced. Some components, like certain metal parts, can be machined or welded to restore functionality.
Images showing damaged parts versus normal wear can help in illustrating when a part should be repaired or replaced.
Sourcing Replacement Parts
- Quality Components: Ensure you obtain high-quality or OEM (Original Equipment Manufacturer) parts to guarantee compatibility and reliability. The right parts can significantly impact the engine’s performance.
- Part Verification: Double-check that the replacement parts match the original specifications. Correct fitment is crucial to engine function and longevity.
Including visuals or checklists on how to select and verify the right engine parts can be highly beneficial for readers.
Repair Techniques
- Precision Tools: Utilize the appropriate tools for engine repairs, such as torque wrenches to ensure bolts and nuts are tightened to the correct specifications.
- Specialized Repairs: Some repairs might require specialized skills or tools, like valve grinding or cylinder honing, which should be done with precision and care.
Step-by-step images or videos showcasing specific repair techniques can provide valuable practical insights.
Installation of New Components
- Clean Installation Surface: Ensure all surfaces are clean and free of debris before installing new parts, which helps in preventing leaks or future failures.
- Correct Installation: Follow the manufacturer’s guidelines for installing new components, using the correct torque settings and sequences to avoid issues like leaks or part failures.
Photographs illustrating the installation of various engine components can guide readers through the correct installation process.
Testing Repaired or Replaced Parts
- Initial Checks: Once the parts are replaced or repaired, perform initial checks to ensure everything is installed correctly and there are no immediate issues like leaks or misalignment.
- Functionality Test: Conduct a functionality test, if possible, to ensure that the repaired or replaced parts are working correctly and the engine is operating smoothly.
Images or diagrams showing how to perform these initial checks and functionality tests can reinforce the text instructions.
Reassembly and Reinstallation
The reassembly and reinstallation phase is a crucial step in the “How to repair engine step by step?” process. It involves putting the engine components back together in the correct order and ensuring everything is installed correctly for optimal engine performance. Precision during this phase is critical to avoid future problems. Here’s how to effectively manage this important stage:
Methodical Reassembly Process
- Follow Guidelines: Adhere strictly to the engine’s service manual or assembly guide to ensure each part is reassembled in the correct order and manner.
- Organized Approach: Utilize the organization system you established during disassembly, referring to labels, notes, or photographs to ensure accurate reassembly.
Including images or diagrams that correspond to the reassembly instructions in the service manual can be incredibly helpful.
Ensuring Proper Fit and Torque
- Torque Specifications: Use a torque wrench to tighten bolts and nuts to the manufacturer’s specified torque settings. This is crucial to ensure parts are secured properly without being over or under-tightened.
- Gasket and Seal Installation: Carefully install new gaskets, seals, and o-rings where needed, ensuring they are seated correctly to prevent leaks.
Photographs illustrating the correct placement of gaskets and the use of a torque wrench can provide clear, practical guidance.
Reconnecting Systems and Components
- Electrical Connections: Reattach all electrical connectors and wiring, ensuring secure and correct connections to prevent electrical faults.
- Fluid Systems: Reconnect fuel, coolant, and oil lines, double-checking for secure fittings to avoid leaks.
Visual aids showing detailed steps for reconnecting electrical and fluid systems can enhance understanding and ensure accuracy.
Final Checks Before Engine Start
- Component Review: Go over the engine to ensure all parts are installed, and no tools or foreign objects are left inside the engine compartment.
- Fluid Levels: Refill all necessary fluids such as oil, coolant, and transmission fluid, checking for the correct levels according to the manufacturer’s specifications.
Images demonstrating the fluid refill process and final checklists can be beneficial to ensure all steps are completed correctly.
Engine Reinstallation
- Mounting the Engine: If the engine was removed from the vehicle, carefully hoist and lower it back into place, ensuring it is aligned correctly and mounted securely.
- Reconnecting Components: Attach all external components, including the exhaust, intake manifold, and any other parts removed during the engine removal process.
Photographs or step-by-step visuals of the engine reinstallation can be particularly useful for those undertaking this task for the first time.
Post-Reassembly Testing
- Initial Start-Up: Conduct an initial engine start-up in a controlled environment, monitoring for any unusual noises, leaks, or irregularities.
- Performance Testing: Once the engine is confirmed to be running correctly, perform further testing under various conditions to ensure full operational capacity.
Visuals highlighting key aspects of the testing process can reinforce the importance of thorough post-reassembly checks.
Post-Repair Engine Testing
The final and crucial phase in the “How to repair engine step by step?” process is post-repair engine testing. This stage ensures that the engine is operating correctly after the repair or rebuild, confirming the success of your work and the engine’s reliability. Effective testing can prevent future issues, saving time and resources in the long run. Here’s how to conduct comprehensive post-repair engine testing:
Initial Startup and Idle Test
- Careful Monitoring: Start the engine and let it idle, carefully listening for any unusual noises and observing for leaks or vibrations. This is a critical moment to catch immediate issues post-repair.
- Engine Parameters: Monitor the engine’s temperature, oil pressure, and charging system to ensure all readings are within normal ranges.
Including images or videos demonstrating the correct way to monitor these parameters can be very instructive.
Visual Inspection While Running
- Leak Checks: With the engine running, inspect for any signs of oil, coolant, or fuel leaks, which could indicate issues with the reassembly.
- Exhaust Analysis: Observe the exhaust emissions; excessive smoke or unusual odors can signify problems like incomplete combustion or oil leaks.
Photographs highlighting key areas to inspect for leaks or unusual emissions can guide readers on what to look out for during this test.
Performance Testing
- Revving the Engine: Gently rev the engine while stationary, checking for smooth acceleration and listening for any irregular engine noises or hesitation.
- Power Delivery: If possible, conduct a controlled road test to ensure the engine maintains performance under various driving conditions, including acceleration, cruising, and deceleration.
Images or step-by-step guides on how to conduct a stationary rev test or the setup for a controlled road test can be beneficial.
Diagnostic Tool Check
- OBD-II Scan: Reconnect the OBD-II scanner to check for any new error codes that may have appeared after the repair, ensuring the engine’s sensors and systems are functioning correctly.
- Live Data Monitoring: If available, use live data monitoring to observe the engine’s performance in real-time, ensuring all components are operating as intended.
Including visuals of the OBD-II scanning process or screenshots of typical live data outputs can enhance reader comprehension.
Long-Term Monitoring
- Follow-Up Checks: After the initial testing, it’s wise to conduct follow-up checks after the engine has been used for some time. This includes re-checking fluid levels, inspecting for leaks, and listening for unusual noises.
- maintenance Records: Update the vehicle’s maintenance records with the details of the repair and any parts replaced, which is invaluable for future maintenance and troubleshooting.
Photos or templates illustrating how to document these follow-up checks and update maintenance records can provide practical guidance.
Conclusion
Navigating through the process of “How to repair engine step by step?” is an intricate journey that requires attention to detail, a methodical approach, and adherence to best practices. From the initial assessment to the meticulous reassembly and the essential post-repair testing, each phase is pivotal in ensuring the engine’s optimal performance and longevity.
Successfully repairing an engine is not just about fixing a problem; it’s about understanding the engine’s intricacies, diagnosing issues accurately, and applying precise, informed solutions. The satisfaction of hearing an engine run smoothly after a repair is unmatched, symbolizing a job well done and a vehicle ready to return to peak performance.
Remember, the essence of a good repair job lies in the quality of the workmanship, the accuracy of the diagnosis, and the careful execution of each repair step. Whether you’re a seasoned mechanic or a dedicated enthusiast, the process demands your full attention, expertise, and patience.
In this guide, we’ve covered the essential steps involved in engine repair, each designed to equip you with the knowledge and confidence needed to tackle engine problems head-on. By following this structured approach, you ensure that every component is inspected, every issue is addressed, and the engine is restored to its full functionality.
As you put these steps into practice, always prioritize safety, double-check your work, and stay informed about the latest techniques and best practices in engine repair. Your diligence and commitment to quality will reflect in the engine’s performance, reliability, and service life, ultimately rewarding you with the satisfaction of mastering one of the most vital skills in automotive care.
Embrace the journey of engine repair as an opportunity to deepen your understanding of automotive engineering, to hone your skills, and to contribute to the lasting health and performance of the vehicles you work on. With each engine you repair, you’re not just fixing a machine; you’re ensuring reliability, safety, and satisfaction for every journey it will undertake.


