Introduction
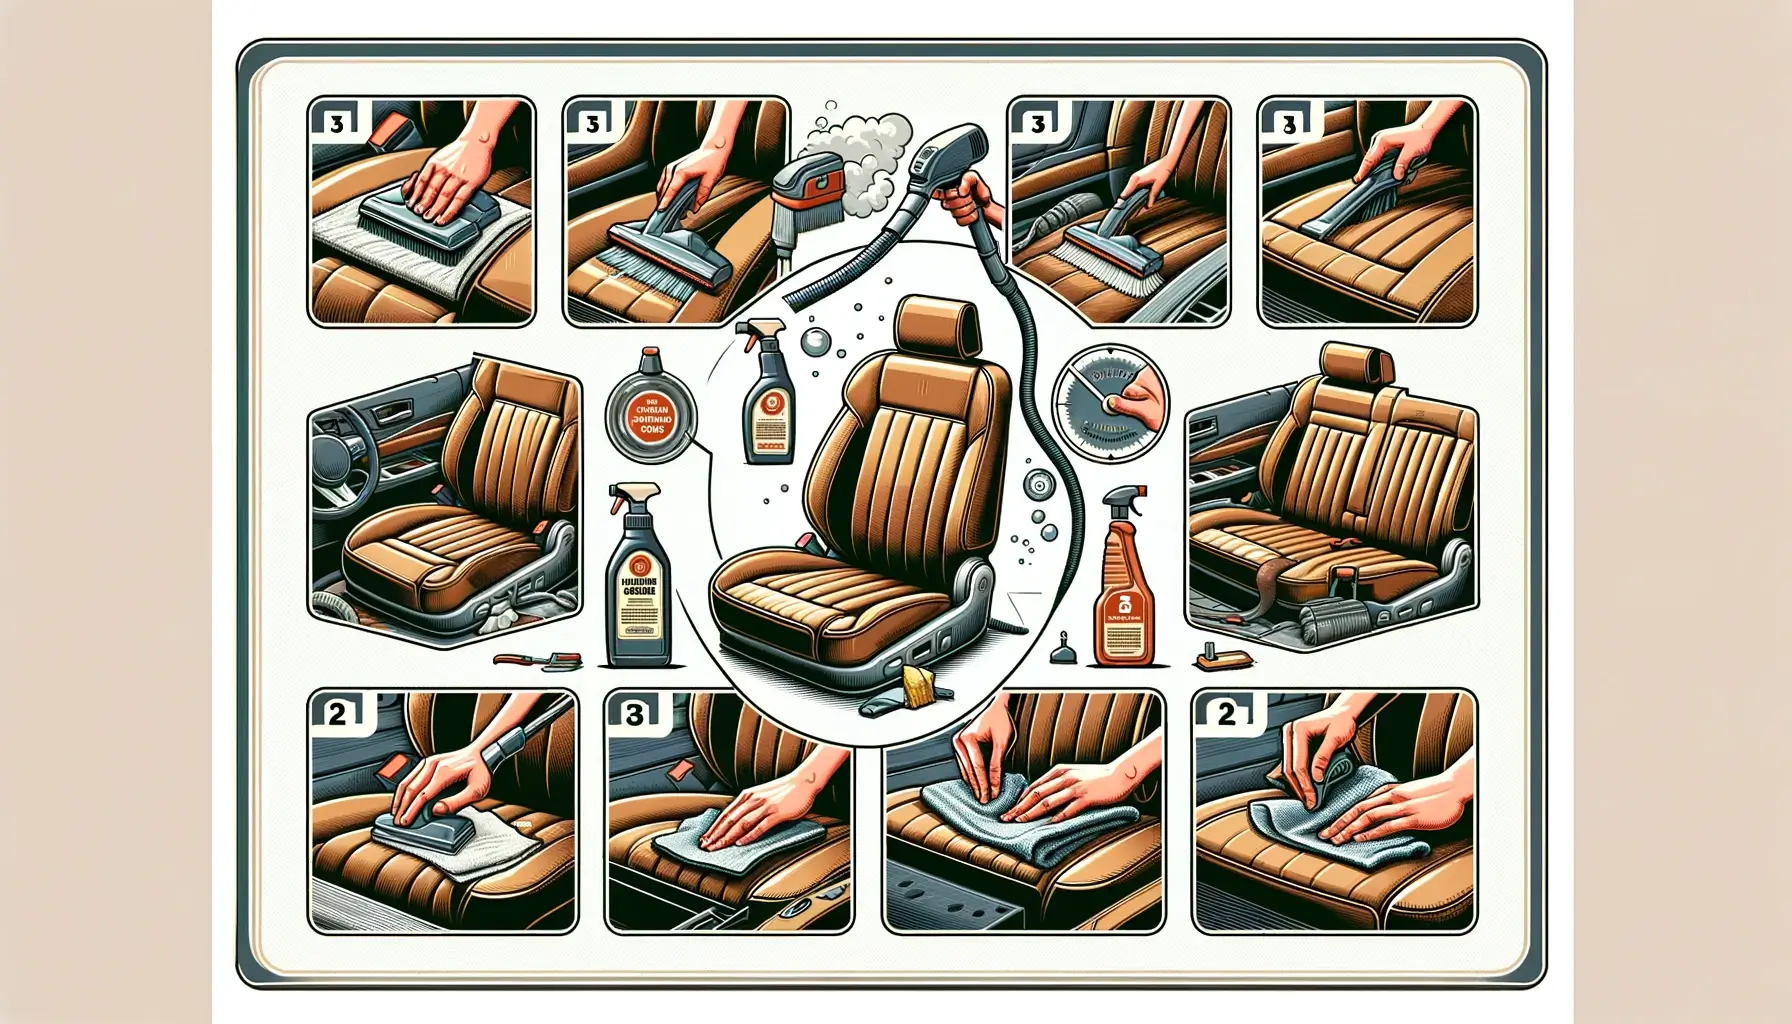
“How to clean leather seats” is a question many car owners ask, as maintaining the luxurious look and feel of leather requires specific care and attention. This blog post will provide you with a comprehensive guide on keeping your leather seats in top-notch condition. We’ll cover everything from the initial assessment of the leather type to the final touches of conditioning, ensuring that you have all the knowledge and techniques at your fingertips to enhance the longevity and comfort of your vehicle’s interior. Embark on this journey with us to ensure your leather seats remain clean, supple, and visually appealing, reflecting the care and attention they deserve.
Understanding Leather Types

Before diving into the specifics of how to clean leather seats, it’s crucial to understand the different types of leather, as each may require a unique approach to cleaning and maintenance. This knowledge ensures that you use the right products and techniques, preventing damage and extending the life of your leather seats.
Genuine Leather: This is the most common type of leather used in car seats. It’s durable, has a unique grain, and requires regular cleaning and conditioning to maintain its softness and prevent cracking. When cleaning genuine leather, it’s important to use gentle, leather-specific products to avoid damage.
Faux Leather: Also known as synthetic leather, this material is cheaper and easier to maintain than genuine leather. It’s usually more resistant to spills and stains, making it simpler to clean. However, it still requires care to prevent peeling and cracking over time.
Nappa Leather: Often found in luxury vehicles, Nappa leather is softer and more pliable than standard leather, providing a higher level of comfort. It’s also more sensitive, so it requires gentle cleaning methods and regular conditioning to preserve its luxurious feel and appearance.
Suede or Nubuck: These types of leather have a soft, napped finish and are less common in car seats due to their delicate nature and difficulty to clean. They attract dirt and absorb liquids easily, requiring specialized cleaning methods and products to avoid matting or discoloration.
Perforated Leather: This is genuine leather with perforations for aesthetic reasons or to allow for ventilation. Extra care is needed when cleaning to prevent liquids from seeping through the holes and causing damage to the cushioning beneath.
Pre-Cleaning Steps
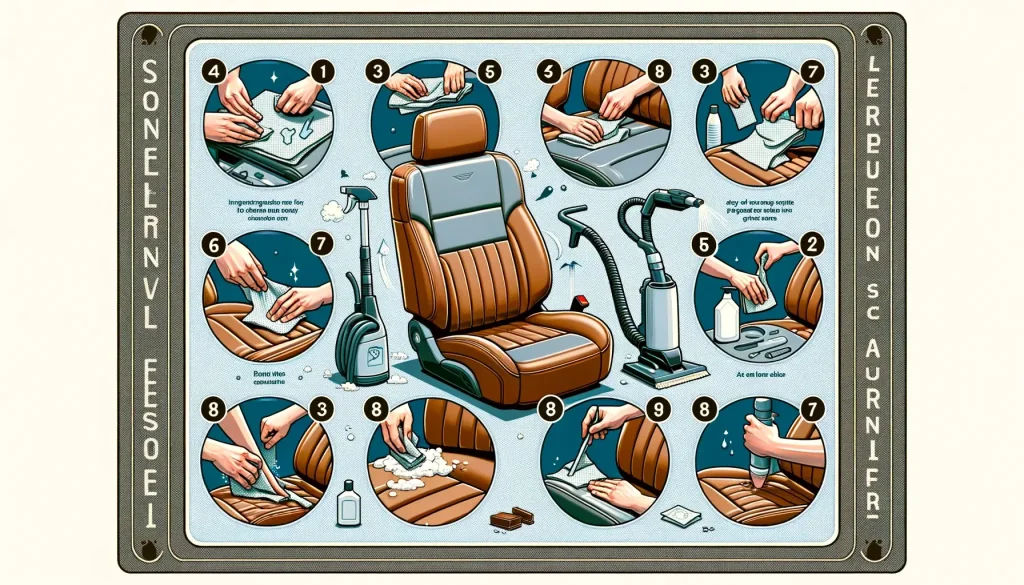
Before you delve into the actual cleaning of your leather seats, taking some preparatory steps can significantly enhance the cleaning process’s effectiveness and safety. These pre-cleaning measures are designed to ensure that the leather is properly prepped and protected, preventing any damage during the cleaning process. Here’s a guide on what to do before you start cleaning your leather car seats.
Remove Loose Dirt and Debris:
- Begin by removing any loose dirt, dust, or debris from the seat surface. Use a soft-bristled brush or a dry microfiber cloth to gently sweep away particles. This prevents scratching the leather when you apply cleaning solutions.
Vacuum the Seats:
- Use a vacuum cleaner with a soft brush attachment to carefully vacuum the crevices and seams of the seats, where dirt and small particles tend to accumulate. Be gentle to avoid scratching the leather or damaging the stitching.
Check for Perforations:
- Inspect the leather for any perforations or holes, such as those found in ventilated seats. Ensure that no liquid cleaner or water enters these perforations during the cleaning process, as this can damage the cushioning underneath.
Test the Leather Cleaner:
- Always test any leather cleaner or conditioner on a small, inconspicuous area of the seat first. This will help you ensure that the product is safe for your leather and doesn’t cause discoloration, staining, or damage.
Evaluate the Leather’s Condition:
- Assess the overall condition of the leather to tailor your cleaning method accordingly. Look for any areas that require special attention, such as stains, spills, or signs of wear and tear.
Gather Your Cleaning Supplies:
- Prepare all the cleaning supplies you’ll need, including leather cleaner, microfiber cloths, a soft brush, and leather conditioner. Having everything on hand will make the cleaning process smoother and more efficient.
Choosing the Right Cleaning Products
Selecting the appropriate cleaning products is pivotal in the process of how to clean leather seats, as the right choice can rejuvenate the leather, while the wrong one may cause irreversible damage. Understanding the nuances of various leather cleaning products ensures the longevity and aesthetic appeal of your leather seats. Here’s a guide to help you make informed decisions:
Opt for Leather-Specific Cleaners:
- Always choose a cleaner specifically designed for leather. These products are formulated to effectively clean while maintaining the leather’s integrity, ensuring it remains soft and doesn’t crack over time.
Check pH Balance:
- Leather is sensitive to pH levels, so it’s crucial to use a pH-balanced cleaner. Products that are too acidic or alkaline can deteriorate the leather, causing it to dry out, crack, or discolor.
Avoid Harsh Chemicals:
- Steer clear of cleaners containing harsh chemicals, waxes, silicones, or oils that can build up on the leather surface, attract dirt, or even break down the leather over time. Natural or gentle ingredients are preferable for safe and effective cleaning.
Consider Conditioners:
- After cleaning, leather conditioners can be applied to keep the leather supple and prevent cracks or dryness. Choose a conditioner that doesn’t leave a greasy residue and is appropriate for your leather type.
Read Reviews and Recommendations:
- Look for products with positive reviews from other users, especially those with the same type of leather seats as yours. Recommendations from automotive experts or manufacturers can also guide you to the best products.
Be Wary of DIY Solutions:
- While homemade solutions can be gentle and effective, some natural ingredients might not be suitable for all leather types. Always test any DIY cleaner on a small, inconspicuous area before applying it to the entire seat.
Understanding Ingredients:
- Familiarize yourself with the ingredients in leather cleaners and avoid those with potentially damaging substances. Ingredients that provide gentle cleaning without stripping the leather’s natural oils are ideal.
DIY Leather Cleaning Solutions
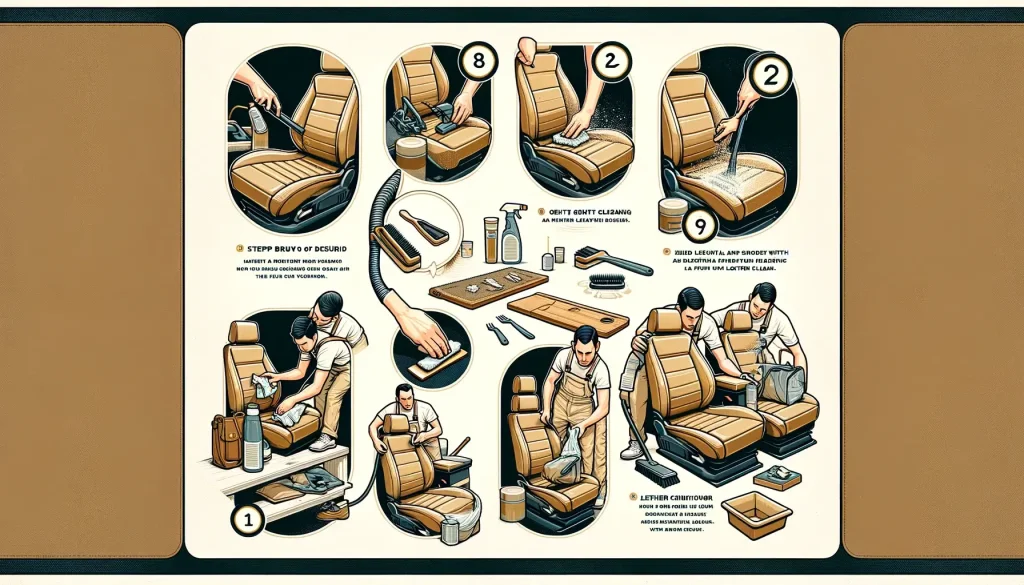
For those who prefer a more hands-on, natural approach, DIY leather cleaning solutions can be an effective and gentle alternative to commercial products. Crafting your own cleaner can be economical and environmentally friendly, but it’s crucial to use the right ingredients to avoid damaging your leather seats. Here’s how you can create your own leather cleaning solutions safely.
Vinegar and Olive Oil Mixture:
- A popular DIY leather cleaner involves mixing equal parts of white vinegar and olive oil. Vinegar helps clean the leather, while olive oil acts as a conditioner. Apply the mixture lightly with a microfiber cloth, gently rub it in, then buff with a clean cloth. Always do a spot test first to ensure it doesn’t cause discoloration.
Mild Soap Solution:
- For a gentle cleaning option, mix a few drops of mild, unscented liquid soap with distilled water. Dip a soft cloth into the solution, wring it out thoroughly, and wipe the leather. This can remove light dirt and stains without harsh chemicals.
Baking Soda for Oil Stains:
- Baking soda is effective for absorbing oil-based stains. Sprinkle a small amount on the stain, let it sit for a few hours or overnight, then gently wipe it off with a soft cloth. It’s particularly useful for spot treatments rather than whole-seat cleaning.
Lemon Juice and Cream of Tartar Paste:
- A paste made from equal parts of lemon juice and cream of tartar can treat spots and small stains. This mixture has a mild bleaching effect, so it’s best used on lighter leather. Apply the paste, let it sit for a short period, then remove it with a damp cloth. Always test this solution first to prevent potential bleaching.
Precautions for DIY Cleaners:
- Always Spot Test: Before applying any homemade solution to your leather seats, conduct a spot test on a hidden area to ensure it doesn’t cause damage or discoloration.
- Use Soft Cloths: Apply your DIY cleaners using soft, lint-free cloths to avoid scratching the leather.
- Avoid Over-saturation: When using liquid solutions, never soak the leather; a damp cloth is sufficient to prevent water damage.
- Follow Up with Conditioning: After cleaning with a DIY solution, consider using a commercial leather conditioner or a natural oil like coconut oil in moderation to keep the leather supple.
Where to Add Images:
- Step-by-Step Instructions: Include images that illustrate each step of creating and applying the DIY leather cleaning solutions.
- Before and After Comparisons: Show the effectiveness of DIY solutions on leather seats with before and after photos.
- Ingredient Highlights: Visuals focusing on the natural ingredients used in the recipes, displaying their raw form and the mixed final product.
Step-by-Step Cleaning Guide
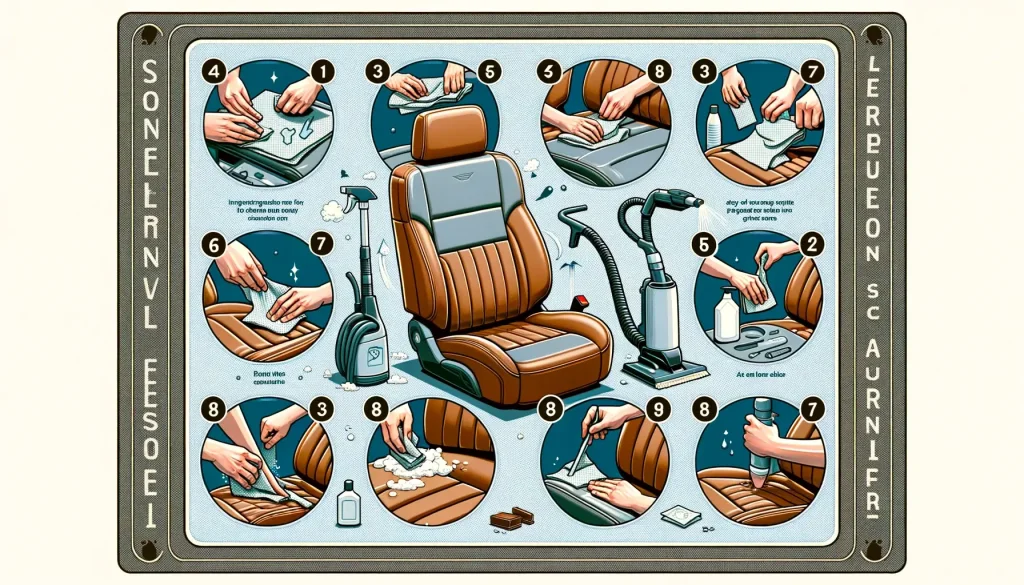
Properly cleaning your leather seats is essential to maintain their appearance and longevity. A methodical approach ensures that you effectively remove dirt and oils without damaging the leather. Here’s a detailed, step-by-step guide to help you clean your leather seats thoroughly and safely.
1. Prepare Your Cleaning Solution:
- Whether you’re using a commercial leather cleaner or a DIY solution, have it ready. If you’re mixing a homemade cleaner, ensure it’s done according to the recipe, typically involving mild soap and water or a vinegar and oil mix.
2. Remove All Loose Dirt and Debris:
- Begin with a soft brush attachment on your vacuum to remove any loose dirt, crumbs, or debris from the seat surfaces, seams, and crevices. This prevents any scratching or embedding of debris during the wet cleaning process.
3. Test the Cleaner on a Small Area:
- Before applying the cleaner over the entire seat, test it on a small, inconspicuous area. Wait for it to dry to ensure there’s no discoloration or damage to the leather.
4. Apply the Cleaner:
- Dip a soft microfiber cloth into your cleaning solution, wring out excess liquid, and gently wipe the leather. Avoid saturating the leather; a damp cloth is sufficient. Clean in sections, ensuring the entire seat gets attention without soaking any area.
5. Gentle Scrubbing:
- For any stubborn dirt or mild stains, use a soft-bristled brush, gently scrubbing the leather in a circular motion to lift the dirt. Do not use excessive force, as this can damage the leather’s surface.
6. Wipe Off Residue:
- With a clean, damp cloth, wipe off any remaining cleaner from the leather, ensuring no residue is left behind. This step is crucial to prevent any cleaning solution from potentially drying out and damaging the leather.
7. Dry the Leather:
- Use a fresh, dry microfiber cloth to gently pat the seats dry. Avoid leaving the leather wet or damp, as this can lead to mildew or water stains.
8. Conditioning:
- After the seats are completely dry, apply a leather conditioner. This step is vital for keeping the leather supple and preventing cracks or dryness. Apply the conditioner as per the product instructions, usually with a soft cloth, massaging it into the leather and wiping away any excess.
Spot Cleaning Techniques
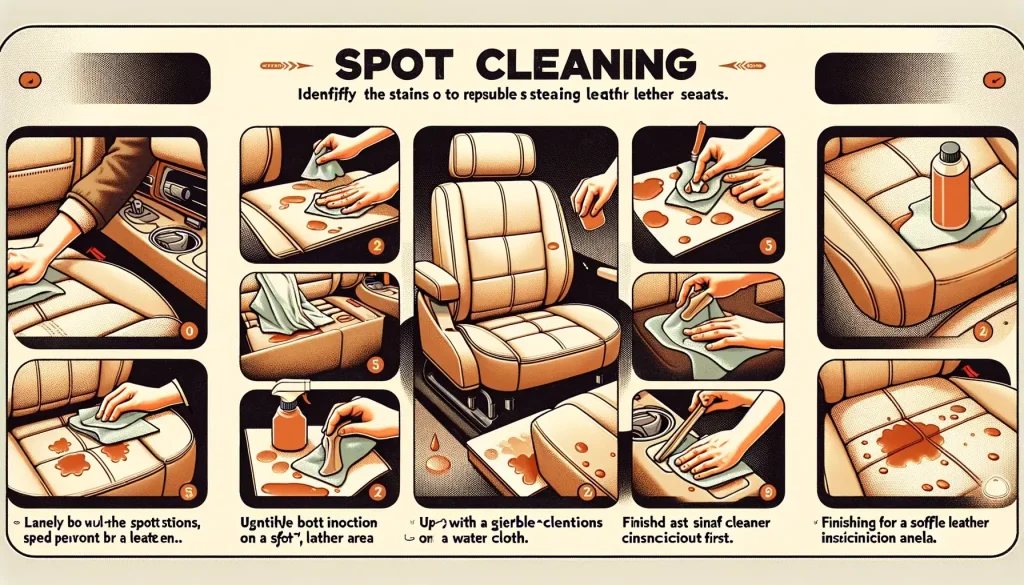
Spot cleaning is a crucial aspect of leather care, especially when dealing with unexpected spills or localized stains. Properly addressing these spots can prevent permanent damage, maintaining the pristine condition of your leather seats. Here’s how to effectively tackle spot cleaning on leather upholstery:
1. Blotting Spills Immediately:
- As soon as a spill occurs, gently blot the liquid with a clean, absorbent cloth. Avoid rubbing, as this can spread the stain or push the liquid deeper into the leather. The key is to lift as much of the spill as possible before it settles.
2. Identifying the Stain Type:
- Determine the nature of the stain. Different substances (oil, ink, food, etc.) require specific cleaning approaches. Knowing what you’re dealing with will help you choose the most effective cleaning method.
3. Using a Specialized Leather Cleaner:
- For most stains, a leather-specific cleaner is your best bet. Apply a small amount of the cleaner to a microfiber cloth and gently dab the stain, working from the outside in to prevent spreading.
4. Homemade Solutions for Specific Stains:
- Ink Stains: Dabbing a cotton swab with rubbing alcohol and gently applying it to the ink can be effective. Follow up with a leather conditioner, as alcohol can dry out the leather.
- Grease Stains: Sprinkle baking soda or cornstarch on the stain and let it sit for a few hours to absorb the grease. Then, gently brush it off with a soft brush and clean the area with a leather cleaner.
- Water Stains: Wipe the entire area with a damp cloth, allowing the leather to wet evenly, then dry naturally. This can help avoid water rings.
5. Rinsing the Area:
- After treating the stain, lightly dampen a clean cloth with water and gently wipe the area to remove any cleaning residue. This step is crucial to prevent any cleaning agents from potentially damaging the leather over time.
6. Drying and Conditioning:
- Pat the cleaned area dry with a soft cloth, then apply a leather conditioner to restore moisture and suppleness to the leather, preventing drying or cracking.
Conditioning Leather Seats
Conditioning leather seats is an essential step in the maintenance routine that not only enhances the appearance of the leather but also preserves its flexibility, preventing cracks and tears over time. Understanding how to properly condition your leather seats can ensure they remain in excellent condition, contributing to the overall value and comfort of your vehicle. Here’s a comprehensive guide to effectively conditioning your leather seats.
1. Choosing the Right Leather Conditioner:
- Select a high-quality leather conditioner that is appropriate for your car’s leather type. The conditioner should be non-greasy, absorbent, and free from harmful chemicals or silicones that can damage the leather over time.
2. Cleaning the Leather First:
- Before conditioning, ensure the leather is clean and free of dirt, dust, or stains. Applying conditioner over grime can seal in the dirt, potentially harming the leather. Use a gentle leather cleaner and allow the seats to dry completely post-cleaning.
3. Applying the Conditioner:
- Use a soft, lint-free cloth or sponge to apply the conditioner. Dab a small amount of the product onto the cloth and gently rub it into the leather in circular motions, ensuring an even coverage. Avoid over-saturating the leather; a little goes a long way.
4. Allowing the Conditioner to Absorb:
- After application, let the conditioner absorb into the leather for the time recommended by the product instructions—usually around 10 to 30 minutes. This allows the leather to fully soak up the conditioner, maximizing its protective and moisturizing benefits.
5. Buffing the Leather:
- Once the conditioner has been absorbed, take a clean, dry microfiber cloth and gently buff the leather. This helps to remove any excess conditioner and restores the leather’s natural shine, leaving it looking fresh and well-cared-for.
6. Regular Conditioning Schedule:
- Maintain a regular conditioning routine, approximately every three to six months, depending on the vehicle’s usage and exposure to elements like sun and heat, which can accelerate the drying process of leather.
7. Testing and Safety Precautions:
- Always test the leather conditioner on a small, inconspicuous area of the seat first to ensure it doesn’t alter the color or texture of the leather. Also, ensure good ventilation during the conditioning process to avoid inhaling any fumes.
Preventative Care and Maintenance
Effective preventative care and regular maintenance are crucial for preserving the longevity, comfort, and aesthetic appeal of your leather seats. Establishing a routine that protects the leather from everyday wear and potential damage can save you time, effort, and expense in the long run. Here’s how to implement a proactive approach to leather seat care.
1. Regular Cleaning:
- Consistently clean your leather seats using a suitable leather cleaner. This prevents the buildup of dirt, oils, and grime that can degrade the leather over time. A gentle cleaning every few months can keep your seats looking new and prevent the need for more intensive restoration later.
2. Immediate Spill Response:
- Act quickly to clean spills and stains. Leather is porous and can absorb liquids, which may lead to staining or damage. Blot spills immediately with a clean, absorbent cloth and follow up with a proper leather cleaner if necessary.
3. Avoid Direct Sunlight:
- Prolonged exposure to direct sunlight can fade and dry out leather, leading to cracks and weakened material. Whenever possible, park in shaded areas or use a sunshade to protect your vehicle’s interior from UV rays.
4. Condition Regularly:
- Regular conditioning is essential to keep the leather supple and prevent cracking. Use a high-quality leather conditioner every three to six months, depending on your climate and how often you use your vehicle.
5. Utilize Leather Protectors:
- Consider using a leather protectant product that shields the leather from UV rays, body oils, and potential staining. Ensure that any protectant used is compatible with your leather type and does not leave a residue.
6. Minimize Wear and Tear:
- Be mindful of objects that can scratch or puncture the leather, such as keys, tools, or pet claws. Consider using seat covers or blankets for additional protection when transporting items or pets that might harm the seats.
7. Maintain a Comfortable Temperature:
- Extreme temperatures can affect leather’s longevity. In hot climates, try to keep the vehicle cool; in cold climates, avoid high heat settings directly on the leather, as it can cause it to dry out and crack.
Addressing Common Challenges
Leather seats, while luxurious and comfortable, can present a set of common challenges that owners might encounter. Addressing these issues promptly and effectively can help maintain the leather’s integrity and appearance. Here’s a guide to tackling some of the typical problems associated with leather car seats.
1. Cracking and Drying:
- Prevention: Regular conditioning is key to preventing leather from drying out and cracking. Use a quality leather conditioner that provides essential moisture and flexibility to the leather.
- Solution: If cracking has already occurred, a deep conditioning treatment may help minimize the appearance of cracks and prevent further damage. In severe cases, professional restoration might be necessary.
2. Fading and Discoloration:
- Prevention: Protect leather seats from prolonged exposure to sunlight and UV rays, which can fade and discolor the material. Use window shades, tinting, or parking in shaded areas to minimize sun exposure.
- Solution: Specialized leather dyes or recoloring balm can be used to restore color to faded leather, but it’s often best applied by professionals to ensure a matching and lasting finish.
3. Stains and Spills:
- Prevention: Clean up spills immediately to prevent stains from setting. For ongoing protection, consider using a leather sealant that repels liquids and makes cleanup easier.
- Solution: For existing stains, identify the cause of the stain and use the appropriate leather-specific cleaner. Stubborn stains might require a professional leather cleaner.
4. Scratches and Scuffs:
- Prevention: Be mindful of items that can scratch the leather, such as keys, zippers, or pet claws. Regular conditioning can also help the leather resist minor scratches.
- Solution: Minor scratches can often be buffed out using a microfiber cloth and leather conditioner. Deeper scratches may need color-matched leather repair kits or professional attention.
5. Odors:
- Prevention: Keep the leather clean and dry to prevent odors from becoming embedded in the material. Address spills and moisture quickly and avoid using harsh chemicals that can leave a residue or scent.
- Solution: For persistent odors, a thorough cleaning followed by a light application of a baking soda and water mixture can help absorb smells. Leave the mixture on for a few hours, then wipe off and condition the leather.
Professional vs. DIY Cleaning
When it comes to maintaining leather seats, car owners often weigh the options between professional cleaning services and DIY methods. Both approaches have their merits and can be suitable under different circumstances. Understanding the pros and cons of each can help you make an informed decision on how best to care for your leather upholstery.
Professional Cleaning:
Pros:
- Expertise: Professionals have the experience and knowledge to handle various types of leather and conditions, ensuring that the cleaning or repair is done correctly.
- Advanced Techniques: They use specialized tools and products that may not be available to the average consumer, which can be particularly effective in treating tough stains or repairing damage.
- Time-Saving: Outsourcing this task saves you time and effort, providing convenience, especially for those with busy schedules.
Cons:
- Cost: Professional services can be expensive, especially if they involve deep cleaning, conditioning, or repair.
- Necessity: For regularly maintained leather that only requires light cleaning, professional services might be overkill.
DIY Cleaning:
Pros:
- Cost-Effective: Using household products or over-the-counter cleaners is generally less expensive than hiring professionals.
- Convenience: You can clean your leather seats at your convenience without the need to schedule an appointment or wait for service.
- Regular Maintenance: DIY methods are ideal for regular upkeep, helping you maintain the leather’s condition and prevent severe soiling or damage.
Cons:
- Risk of Damage: Without the proper knowledge or by using incorrect products, there’s a risk of causing damage to the leather.
- Time and Effort: Thoroughly cleaning leather seats yourself requires time and physical effort, which might be challenging for some.
Choosing the Right Approach:
- Consider the condition of your leather seats: If they are significantly soiled, stained, or damaged, professional cleaning or repair might be necessary.
- Evaluate your comfort level and knowledge with DIY cleaning: If you’re unsure about the correct products or methods, it might be safer to go professional.
- Think about your budget and time: If you prefer saving money and enjoy hands-on work, DIY might be the way to go. If you value convenience and top-notch results, consider a professional service.
Safety Tips
When cleaning leather seats, safety is paramount, not just for the preservation of the leather but also for your personal health and well-being. Utilizing the correct safety measures can prevent damage to your car’s interior and ensure that the cleaning process is both effective and safe. Here are essential safety tips to consider:
1. Read Product Labels Carefully:
- Always read and follow the instructions on any cleaning product you use. Understanding the proper usage can prevent accidental damage to your leather seats and ensure that the product is suitable for your specific type of leather.
2. Conduct a Spot Test:
- Before applying any cleaner or conditioner to your leather seats, always perform a spot test on a small, inconspicuous area. This helps ensure that the product won’t cause discoloration, staining, or damage to the leather.
3. Use Appropriate Protective Gear:
- When using chemical cleaners, even those specified for leather, wear protective gloves to shield your skin from potential irritation. In well-ventilated areas, consider wearing a mask to avoid inhaling fumes, especially if you’re using strong chemical products.
4. Ensure Adequate Ventilation:
- Work in a well-ventilated area to prevent the buildup of fumes from cleaning and conditioning products. Open doors and windows, or work outside if the weather and space permit.
5. Keep Cleaning Products Away from Children and Pets:
- Store all leather cleaning and conditioning products out of reach of children and pets to prevent accidental ingestion or contact.
6. Avoid Mixing Cleaning Agents:
- Never mix different cleaners or chemicals, as this can lead to dangerous reactions. Stick to one product or make sure that any combination of products is safe and recommended by the manufacturer.
7. Be Cautious with Heat Sources:
- Keep all cleaning products and treated leather seats away from direct heat sources, as heat can accelerate chemical reactions and potentially cause damage or pose a fire risk.
8. Dispose of Cleaning Materials Properly:
- Safely dispose of any rags, cloths, or sponges used during the cleaning process, especially those saturated with chemicals. Follow local regulations for the disposal of chemical products.
Troubleshooting Common Mistakes
Cleaning leather seats is a task that requires attention to detail and an understanding of the material. Even with the best intentions, common mistakes can occur, potentially compromising the appearance and longevity of your leather. Being aware of these pitfalls and knowing how to troubleshoot them can save you from costly repairs or replacements. Here’s a guide to identifying and rectifying common errors in leather seat maintenance.
1. Using Incorrect Cleaning Products:
- Mistake: Utilizing harsh chemicals or all-purpose cleaners not specifically designed for leather.
- Solution: Always opt for cleaners formulated for leather. If you’ve used an incorrect product, neutralize the area with a leather-safe cleaner and then condition the leather to restore its moisture balance.
2. Over-saturating the Leather:
- Mistake: Applying too much water or cleaner, which can seep into the seams and padding, leading to mildew or internal damage.
- Solution: Use a damp cloth rather than a wet one for cleaning and apply leather cleaner sparingly. If over-saturation occurs, dry the leather gently with a soft, absorbent cloth and allow it to air dry completely.
3. Scrubbing Too Hard:
- Mistake: Aggressive scrubbing that can wear down the leather’s finish or cause scratches.
- Solution: Always clean leather with gentle, circular motions. If you’ve scrubbed too hard, apply a leather conditioner to help restore the leather’s suppleness and reduce the appearance of superficial scratches.
4. Neglecting Spot Tests:
- Mistake: Skipping the spot test and causing unintended damage or discoloration to visible areas.
- Solution: If discoloration occurs, consult a professional for targeted color correction. For future cleanings, always conduct a spot test in an inconspicuous area before applying any product to the entire seat.
5. Not Protecting Against Sun Damage:
- Mistake: Allowing prolonged exposure to sunlight, which can fade and dry out the leather.
- Solution: Use sunshades, tinted windows, or parking in shaded areas to protect the leather. If fading has occurred, a leather dye matched to the original color can help restore its appearance.
6. Delaying Stain Removal:
- Mistake: Allowing spills to sit and stain the leather.
- Solution: Clean spills immediately with a suitable leather cleaner. For stubborn stains, a specialized leather stain remover may be needed, followed by conditioning.
Conclusion to How to clean leather seats?
Maintaining the pristine condition of leather seats is an essential aspect of vehicle care that combines aesthetics with longevity. Throughout this guide, we’ve explored various facets of leather maintenance, from choosing the right cleaning products to implementing a regular cleaning regimen, and addressing common mistakes with effective solutions. The key takeaway is that proper leather care is not just about immediate results but about preserving the material’s quality and comfort for the future.
Understanding the specific needs of your leather type, following a consistent maintenance schedule, and being equipped to handle spills and stains promptly can significantly impact the lifespan and appearance of your leather seats. Whether you opt for professional services or a DIY approach, the focus should always be on using gentle, leather-appropriate products and methods to prevent damage and ensure lasting durability.
Regular cleaning and conditioning, coupled with proactive protection from wear and sunlight, can maintain the luxurious feel and appearance of your leather seats. By avoiding common cleaning mistakes and being attentive to the leather’s condition, you can prevent irreversible damage and keep your car’s interior looking its best.
In conclusion, the effort you put into caring for your leather seats is a reflection of your commitment to maintaining your vehicle’s value and your enjoyment of it. With the right approach, you can ensure that your leather seats remain a comfortable and stylish part of your automotive experience, enhancing every journey and preserving the overall appeal of your vehicle.
Embrace the journey of leather care, knowing that your attention to detail and commitment to proper maintenance will keep your car’s interior elegant, comfortable, and resilient over the miles ahead.

