Introduction:
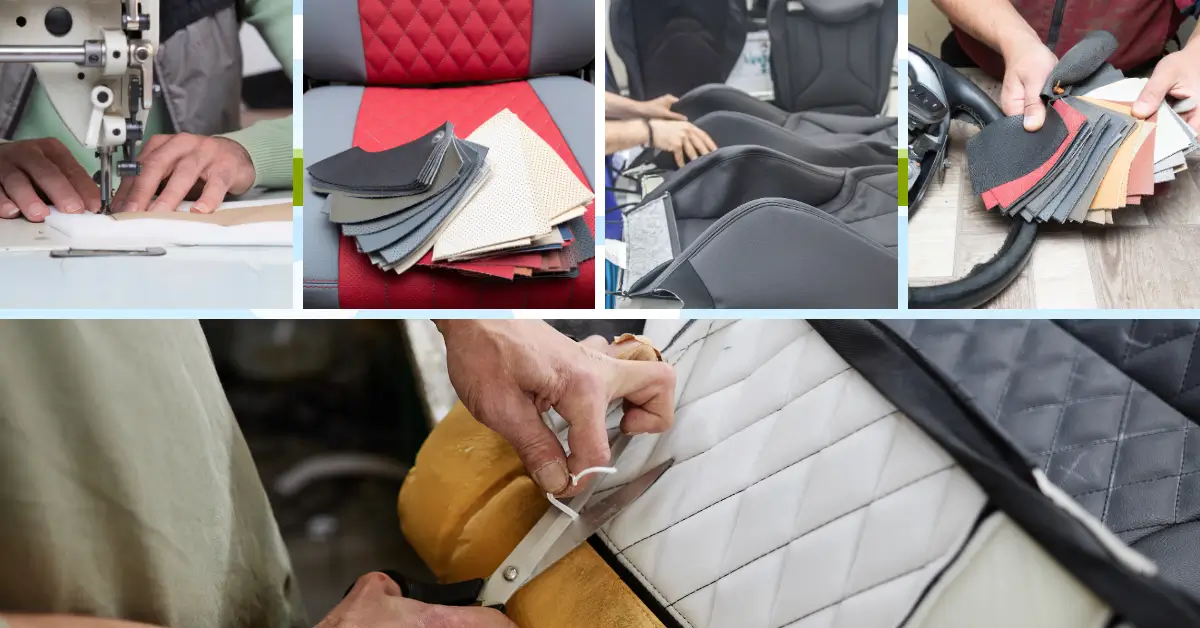
Understanding how to repair leather car seats is essential for any car owner who values maintaining their vehicle’s luxurious interior. Leather seats, with their premium look and feel, can significantly enhance your driving experience, but they require proper care to keep them looking their best. This blog post will guide you through various aspects of leather seat repair, from assessing the damage and choosing the right repair method to the final touches that will restore your seats to their former glory. Whether you’re a DIY enthusiast ready to tackle the challenge or considering professional repair services, you’ll find valuable insights and tips to ensure your leather seats remain in impeccable condition.
Understanding Leather Damage:
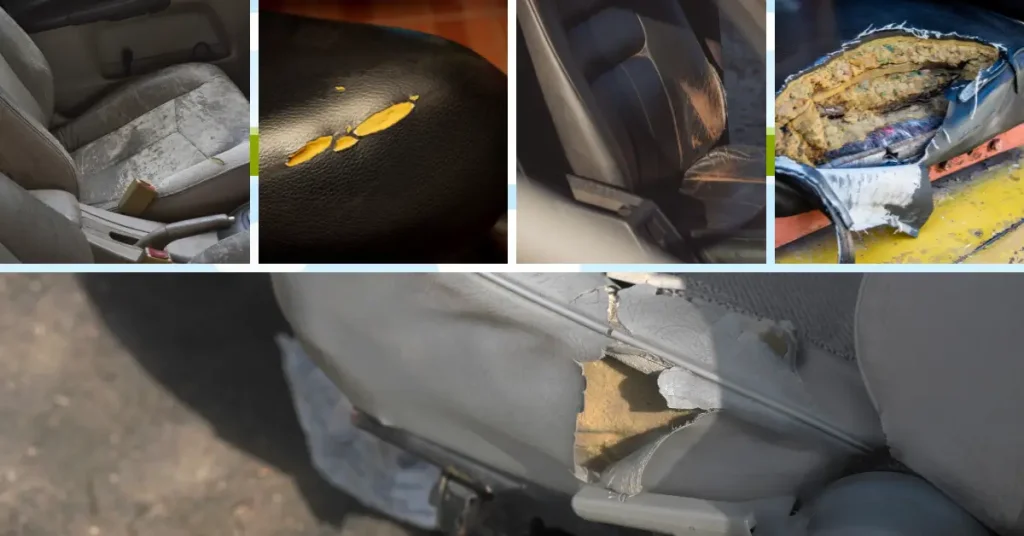
When embarking on the journey of learning how to repair leather car seats, the first critical step is understanding the various types of leather damage. Recognizing the specific kind of damage your car seat has suffered is essential in choosing the correct repair method and ensuring a successful restoration.
Types of Leather Damage
- Scratches and Scuffs: These are superficial marks that often affect only the top coating of the leather. They are usually the easiest to treat, requiring minimal products and effort.
- Tears and Cuts: Sharp objects, pets, or general wear and tear can cause these more significant damages. Depending on the size, they might need patching, sewing, or a professional’s touch.
- Cracks: Over time, leather can dry out and develop cracks, especially if it’s not regularly conditioned. Cracks are more common in older car seats and in vehicles exposed to extreme temperature changes.
- Holes: Holes can be due to punctures or the exacerbation of smaller tears or cracks. Their repair can be challenging, often requiring patches or specialized leather filler.
- Fading: UV exposure or the use of harsh cleaning chemicals can fade the color of your leather seats, making them look old and worn out.
- Stains: Spills, body oils, and other contaminants can stain leather. Some stains can be cleaned off, while others might require dyeing the leather to restore its appearance.
Assessing the Damage
Before attempting any repair, closely inspect your leather seats to understand the damage’s extent. Consider factors like the depth of scratches or cracks, the size of tears, and the area affected by fading or stains. This assessment is crucial as it will determine the appropriate repair technique and the materials you will need.
Importance of Timely Repairs
Addressing leather damage promptly can prevent it from worsening. Early intervention can save you time, effort, and money and can often be the difference between a simple DIY fix and the need for professional restoration.
Preparation for Repair:
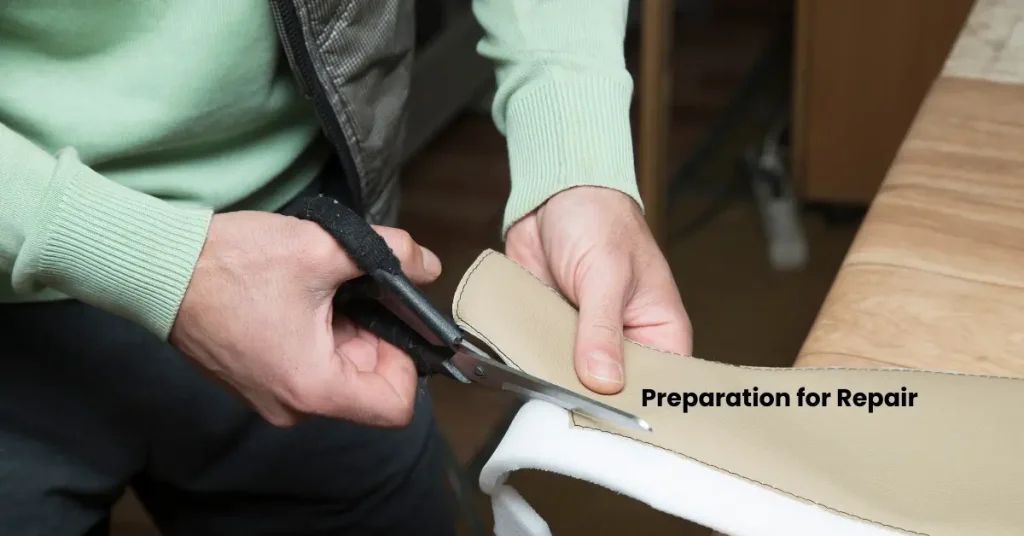
Before you start the actual repair process on your leather car seats, proper preparation is crucial to ensure the success of your repair work. This preparation stage sets the foundation for a smooth repair process and can significantly impact the quality of the results. Here’s how you can prepare effectively:
Cleaning the Leather
- Remove Dirt and Oils: Begin by thoroughly cleaning the leather surface. Use a leather cleaner or a mild soap solution to remove any dirt, oils, or grime. This step ensures that the repair materials adhere properly to the leather.
- Avoid Harsh Chemicals: Be cautious of using aggressive cleaning agents that can damage the leather further. Stick to cleaners specifically designed for leather.
- Dry the Surface: After cleaning, allow the leather to dry completely. Applying repair products to a damp surface can hinder the repair process and affect the durability of the fix.
Assessing the Damage
- Identify the Type of Damage: Understanding the extent and type of damage is vital. Different issues, such as scratches, tears, or cracks, will require different repair approaches.
- Determine the Repair Method: Decide whether the damage can be fixed with a DIY approach or if professional help is needed. This decision should be based on the severity of the damage, your skill level, and the tools available.
Gathering Necessary Tools and Materials
- Leather Repair Kit: These kits typically include everything needed for minor repairs, like patches, adhesives, and colorants.
- Subpatch Material: For tears or holes, have a subpatch material ready, which will go underneath the damaged area to reinforce the repair.
- Adhesives: A quality leather adhesive is crucial for attaching patches or for sealing tears and cracks.
- Colorant or Dye: Matching the color of your leather is essential for a seamless repair, so you may need leather colorant or dye.
- Fine Sandpaper: If there’s any flaking or if you need to smooth out the area post-repair, fine-grit sandpaper can be handy.
Preparing the Workspace
- Clean Workspace: Ensure your working area is clean, well-lit, and free of dust or debris that could stick to the wet repair products.
- Protect Surrounding Areas: Use masking tape or a protective cloth to protect the areas around the repair site from accidental spills or drips of adhesive or dye.
Testing Products
- Patch Test: Always do a patch test with the products you plan to use, especially dyes or adhesives, to ensure they match the leather and do not cause further damage.
Mental Preparation
- Patience is Key: Leather repair is not always quick; it requires patience and attention to detail. Be prepared to take your time to achieve the best results.
DIY Repair Techniques:
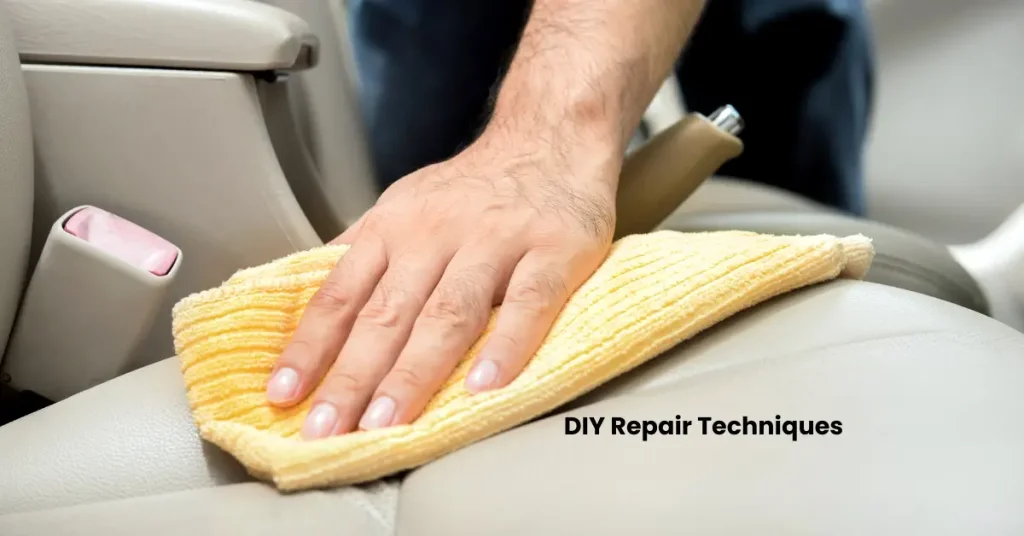
Repairing leather car seats on your own can be a rewarding project, saving you money and extending the life of your vehicle’s interior. The key to a successful DIY repair is understanding the techniques that match the type of damage your leather seats have sustained. Here’s how to tackle various common issues using DIY methods, ensuring you apply the focus keyword “how to repair leather car seats” effectively in your approach.
Fixing Scratches and Scuffs
- Light Scratches: For minor scratches, you can often use a leather conditioner or oil. Gently rub the product over the scratch with a microfiber cloth, allowing it to hydrate the leather and blend the scratch into the surrounding area.
- Deeper Scratches: Apply a leather filler with a palette knife or your fingertip, smoothing it into the scratch. Once dry, lightly sand the area with fine-grit sandpaper, then apply colorant to match the seat’s color, finishing with a leather sealant.
Repairing Tears and Holes
- Subpatch Method: Cut a piece of subpatch material slightly larger than the tear or hole. Insert it beneath the damage using tweezers, ensuring it lays flat. Apply a thin layer of leather adhesive to the patch and press the torn edges down onto the patch, allowing it to dry completely.
- Sewing: If the tear is clean and the leather is not overly thin, hand-stitching with a needle and strong thread can be an option. Use a stitching pattern that aligns with the leather’s existing grain.
Addressing Cracks
- Cleaning: Begin with a thorough cleaning of the area to ensure no dirt or oils are in the cracks.
- Filling: Use leather filler to fill the cracks, applying it with a palette knife or your finger. Allow it to dry according to the manufacturer’s instructions, then gently sand down any excess to create a smooth surface.
- Coloring: Apply a leather colorant that matches your seat’s original color, followed by a leather sealant to protect the repaired area.
Color Restoration
- Leather Dye: If your seats are faded but undamaged, using a leather dye can restore their original color. Clean the area first, then apply the dye with a sponge, wiping off any excess and allowing it to dry completely.
- Finish: Once the dye is dry, apply a leather conditioner to restore moisture to the leather, maintaining its flexibility and preventing future cracks.
General Tips
- Patience is Essential: Allow adequate time for each repair phase, especially drying times between applications of fillers, adhesives, and dyes.
- Test Products: Always test repair products on an inconspicuous area to ensure they match the leather and won’t cause damage.
- Regular Maintenance: After repairs, keep up with regular cleaning and conditioning to maintain the leather’s appearance and prevent future damage.
Professional Repair Solutions:
When the damage to your leather car seats goes beyond the scope of DIY fixes, or when you seek a flawless restoration, turning to professional repair solutions is the best course of action. Professionals specialize in handling extensive leather damage, employing techniques and materials that might not be readily available to the average car owner. Here’s what you should know about seeking professional help for repairing leather car seats:
When to Opt for Professional Repair
- Extensive Damage: Large tears, deep cracks, or widespread fading or discoloration are usually best repaired by professionals who have the right tools and expertise.
- High-Value Vehicles: For luxury or classic cars, professional repairs can ensure that the work is of a quality befitting the vehicle’s status, preserving its value and appearance.
- Matching Colors: Professionals can custom-mix dyes to match your car’s leather exactly, ensuring that repairs are virtually undetectable.
Services Offered by Professionals
- Leather Reupholstery: In cases of severe damage or if you want a completely new look, professionals can replace the entire leather upholstery, giving your seats a brand-new appearance.
- Advanced Color Restoration: Professionals use high-grade dyes and a protective finish to ensure your leather seats are restored to their original color and sheen, with lasting results.
- Structural Repairs: Beyond just the leather itself, professionals can repair the underlying structure of the seats, such as padding, springs, or frames, ensuring comfort as well as aesthetics.
Benefits of Professional Repair
- Expertise: Professionals have the experience and knowledge to assess the damage accurately and choose the most effective repair methods.
- Guaranteed Work: Most professional repairs come with a warranty, ensuring that you are covered if the repair does not hold up over time.
- Quality Materials: Professionals have access to high-quality materials that are often superior to those available to the general public, ensuring a repair that lasts.
Choosing a Professional Repair Service
- Research: Look for repair services with excellent reviews, preferably with expertise in automotive leather repair.
- Quotes: Obtain multiple quotes to ensure you are getting the best service for a fair price. Ensure the quote includes a detailed breakdown of the services provided.
- Portfolio: Check their portfolio of before-and-after photos to gauge the quality of their work and see if they have experience with damages similar to yours.
What to Expect
- Consultation: A professional will typically assess the damage and discuss the best repair options with you, explaining the process and expected outcomes.
- Timeframe: Professional repairs can range from a few hours to a couple of days, depending on the extent of the damage and the type of repair required.
- Care Instructions: Post-repair, you’ll receive instructions on how to care for your newly repaired seats, ensuring the longevity of the repair work.
Choosing the Right Repair Products:
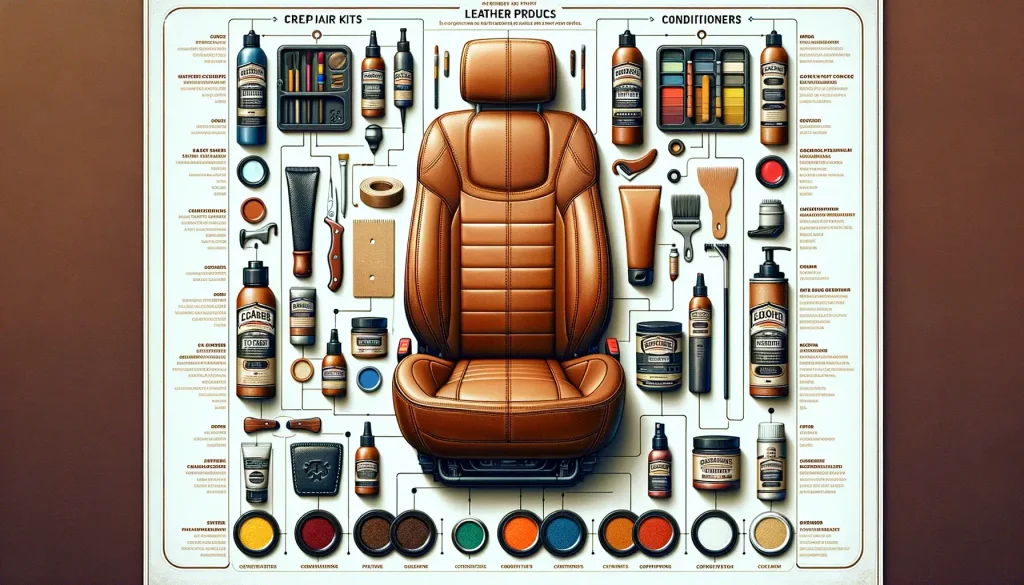
Selecting the appropriate products is pivotal when you’re looking to repair leather car seats. The right materials can make a significant difference in the durability and appearance of the final result. Whether you’re tackling the project yourself or evaluating products used by professionals, here’s what you need to know to make informed choices:
Types of Leather Repair Products
- Leather Repair Kits: These kits often include everything needed for minor repairs, such as patches, adhesives, fillers, and colorants. They are designed to address various damages like scratches, tears, or burns.
- Leather Fillers: Fillers are used to fix cracks, deep scratches, or small holes. They create a smooth, repairable surface that can be colored to match the surrounding area.
- Adhesives: High-quality adhesives are crucial for attaching patches or bonding surfaces without causing further damage. They should be flexible, strong, and dry clear.
- Colorants and Dyes: Matching the color of your leather is essential for a seamless repair. These products range from simple touch-up pens to extensive color-matching systems.
Considerations for Choosing Products
- Match to Leather Type: Ensure the products are suitable for your car seat’s leather type, whether it’s genuine leather, faux, or a specific finish like nappa or suede.
- Quality and Durability: Opt for products with positive reviews and proven longevity. The repair should last as long as possible without needing frequent touch-ups.
- Ease of Use: Some products are more user-friendly than others. Consider your skill level and the complexity of the repair when choosing a product. Detailed instructions and online tutorial support can be a significant advantage.
- Color Matching: Getting an exact color match is crucial for the repair to be inconspicuous. Some brands offer custom color mixing services to ensure a perfect match.
Testing the Products
- Patch Test: Always conduct a patch test in an inconspicuous area to ensure the product doesn’t damage the leather and that the color matches perfectly.
- Compatibility: Check that the repair product is compatible with any cleaners, conditioners, or protectants you plan to use afterward.
Where to Purchase
- Specialty Retailers: Automotive specialty shops and online retailers often have a wide range of leather repair products, allowing you to compare different brands and reviews.
- Manufacturer Recommendations: Some car manufacturers may recommend specific products or brands that are known to work well with their vehicles’ leather.
Expert Advice
- Consult Professionals: If unsure, consider consulting a leather repair professional or the manufacturer for advice on the best products to use for your specific repair needs.
- Product Reviews: Online reviews and forums can be invaluable in gauging the effectiveness of various repair products from real-world users.
Maintenance Tips Post-Repair:
After you’ve successfully repaired your leather car seats, maintaining them is crucial to ensure the longevity of the repair and to keep the leather looking its best. Proper maintenance can prevent future damage, extend the life of your leather, and maintain the value and appearance of your car’s interior. Here are essential tips to help you maintain your leather car seats post-repair:
Regular Cleaning
- Gentle Cleaning: Use a soft cloth and a cleaner specifically designed for leather to clean your seats regularly. Avoid harsh chemicals or abrasive tools that can damage the repair or the leather itself.
- Immediate Attention to Spills: Clean up any spills as soon as they happen to prevent stains or watermarks. Blot the spill gently with a clean, dry cloth.
Conditioning the Leather
- Regular Conditioning: Apply a quality leather conditioner every few months, or as recommended by the product manufacturer. Conditioning helps keep the leather supple, preventing it from drying out and cracking.
- Avoid Over-conditioning: While it’s important to keep the leather moisturized, too much conditioner can clog the pores of the leather, leading to a buildup of residue.
Protecting from the Elements
- Sun Protection: Prolonged exposure to direct sunlight can fade and damage leather. Use sunshades, tinted windows, or park in shaded areas to protect your seats.
- Temperature Control: Extreme temperatures can cause leather to crack or fade. Try to maintain a moderate temperature inside your car to protect the leather.
Avoiding Sharp Objects
- Careful Use: Be mindful of sharp objects like keys, belts, or pet claws that can scratch or tear the leather. Consider using seat covers if you frequently transport items that could damage the seats.
Regular Inspections
- Check Repaired Areas: Periodically inspect the repaired areas to ensure they are holding up well. Early detection of any issues can allow for quick touch-ups before the problem escalates.
- Professional Assessment: If you notice any new damage or if the repair seems to be deteriorating, consult a professional for advice or further repair.
Using Protective Products
- Leather Protectors: Consider using a leather protector that shields the leather from UV rays, spills, and stains. Ensure that the product is compatible with your leather type and the repair materials used.
Handling with Care
- Soft Touch: Avoid putting too much stress or weight on the repaired areas, especially soon after the repair, to allow it to fully set and integrate with the surrounding material.
Educating Others
- Inform Passengers: Let your passengers know about the care you’ve taken to repair and maintain the leather seats, so they can also treat them with respect.
Cost Comparison:
When considering how to repair leather car seats, understanding the cost implications of different repair options is crucial. A cost comparison can help you decide whether to undertake a DIY project or invest in professional repair services. Here’s a breakdown to guide you through the cost-effectiveness of each approach:
DIY Repair Costs
- Leather Repair Kits: These can range from $10 to $50, depending on the brand and the contents of the kit. They usually include everything needed for small repairs, such as patches, adhesives, and colorants.
- Supplemental Materials: You might need additional supplies like cleaners, conditioners, or tools, which can add $5 to $20 to your total cost.
- Longevity and Quality: While less expensive upfront, DIY repairs might not be as durable or aesthetically pleasing as professional work. You may need to redo the repair sooner, which could increase long-term costs.
Professional Repair Costs
- Basic Repairs: For minor issues like small scratches or scuffs, professional services can cost anywhere from $50 to $150, depending on your location and the specific service provider.
- Extensive Repairs: Larger tears, deep cracks, or significant color restoration jobs can be considerably more expensive, sometimes ranging from $150 to $600 or more, reflecting the labor, expertise, and materials required.
- Quality and Warranty: Professionals typically offer high-quality repairs that are durable and seamlessly blend with the existing leather. Most services also come with a warranty, ensuring value for your money.
Cost-Effectiveness
- DIY Approach: Most cost-effective for minor damages or if you have experience with leather repairs. It’s a good choice for those who have the time and are willing to invest in learning the repair process.
- Professional Services: More cost-effective for extensive or complex damage, or when a perfect finish is required. It’s a worthwhile investment for expensive or luxury car interiors, where maintaining quality is paramount.
Additional Considerations
- Vehicle Value: The choice between DIY and professional repairs can also depend on your car’s value. Luxury vehicles or those with high-quality leather interiors might necessitate professional repairs to maintain their value and aesthetic appeal.
- Personal Time: Consider the value of your time. DIY repairs can be time-consuming, and if your time could be better spent elsewhere, professional repairs might offer better overall value.
Case Studies/Success Stories:
Incorporating case studies or success stories into your blog post can significantly enhance its value, providing real-life examples of leather car seat repairs and demonstrating the potential outcomes of different repair methods. These narratives not only serve to inspire but also to inform readers about what can be achieved with either DIY efforts or professional services. Here are examples of how you can structure these case studies:
DIY Repair Success Story
Background: A car owner noticed significant wear and tear on their vehicle’s leather seats, including surface scratches and a couple of small tears. Opting for a DIY approach due to budget constraints and a keen interest in car maintenance, they purchased a mid-range leather repair kit.
Process: The individual followed the kit’s instructions meticulously, starting with cleaning the area, applying the filler, and then re-coloring the damaged spots to match the surrounding leather. They invested time in watching tutorial videos and reading tips to ensure they used the right techniques.
Outcome: The repairs were successful, with the scratches and tears almost invisible post-repair. The satisfaction of completing the repair independently, coupled with the cost savings, made this a rewarding endeavor for the car owner.
Visuals: Before and after photos showcasing the repair areas, and images depicting each step of the repair process.
Professional Repair Success Story
Background: After purchasing a used car, the new owner found the leather seats to be in poorer condition than initially realized, exhibiting extensive cracking and a large tear on the driver’s seat. Concerned about the vehicle’s appearance and resale value, they sought professional help.
Process: A reputable auto upholstery shop was chosen based on excellent reviews and a detailed quote. The professionals conducted a thorough assessment, performed color matching, and used high-grade materials to repair the damaged leather, ensuring a seamless finish.
Outcome: The leather seats were restored to like-new condition, far exceeding the owner’s expectations. The repair not only enhanced the car’s interior aesthetics but also increased its market value. The owner felt the investment was worthwhile, considering the quality and durability of the repair.
Visuals: A gallery of the restoration process, highlighting the extent of initial damage and the final results, along with a testimonial from the car owner.
Considerations for Both Scenarios
- Cost vs. Value: Emphasize the cost involved in both cases and the perceived value gained post-repair, whether it’s satisfaction from a successful DIY project or the premium finish provided by professionals.
- Longevity and Satisfaction: Discuss the long-term satisfaction and any follow-up required, whether the repair has held up over time, and any additional maintenance steps taken to preserve the repair quality.
- Lessons Learned: Include insights or tips that the individuals learned through their repair journey, offering advice to readers considering similar repair paths.
Conclusion:
Navigating the journey of repairing leather car seats can be a fulfilling endeavor, whether you choose the DIY route or opt for professional services. The key lies in understanding the extent of the damage, selecting the right repair method, and executing it with precision and care. Throughout this guide, we’ve explored various aspects of leather seat repair, from DIY techniques to professional solutions, and the crucial considerations in between.
Embracing a DIY project can be immensely gratifying and cost-effective, especially for minor damages. It offers a sense of accomplishment and personal involvement in the care of your vehicle. On the other hand, professional repairs guarantee a level of quality and durability that’s hard to match, particularly for extensive or complex damages. They ensure that your car’s interior maintains its elegance and value, aligning with the standards of even the most discerning car enthusiasts.
The choice between DIY and professional repairs ultimately hinges on your specific situation—considering the severity of the damage, your comfort level with repair tasks, the tools at your disposal, and, importantly, the value you place on your car’s interior aesthetics and longevity. Whatever path you choose, the goal is the same: to restore your leather seats to their best possible condition, ensuring they continue to offer comfort, beauty, and value for years to come.
Remember, the effort you invest in repairing and maintaining your leather car seats is not just about fixing material—it’s about preserving a part of your vehicle that you interact with daily. It’s a commitment to quality and longevity, reflecting your dedication to maintaining your vehicle in top-notch condition. Whether you’re revitalizing an old car or keeping a new one looking its best, the care you put into your leather seats is a testament to your pride in your vehicle.
In conclusion, armed with the insights from this comprehensive guide, you’re well-equipped to make informed decisions about how to repair leather car seats. By choosing the right methods, investing in quality products, and following through with proper maintenance, you can ensure that your car’s leather interior remains a symbol of luxury and comfort, standing the test of time and use.

