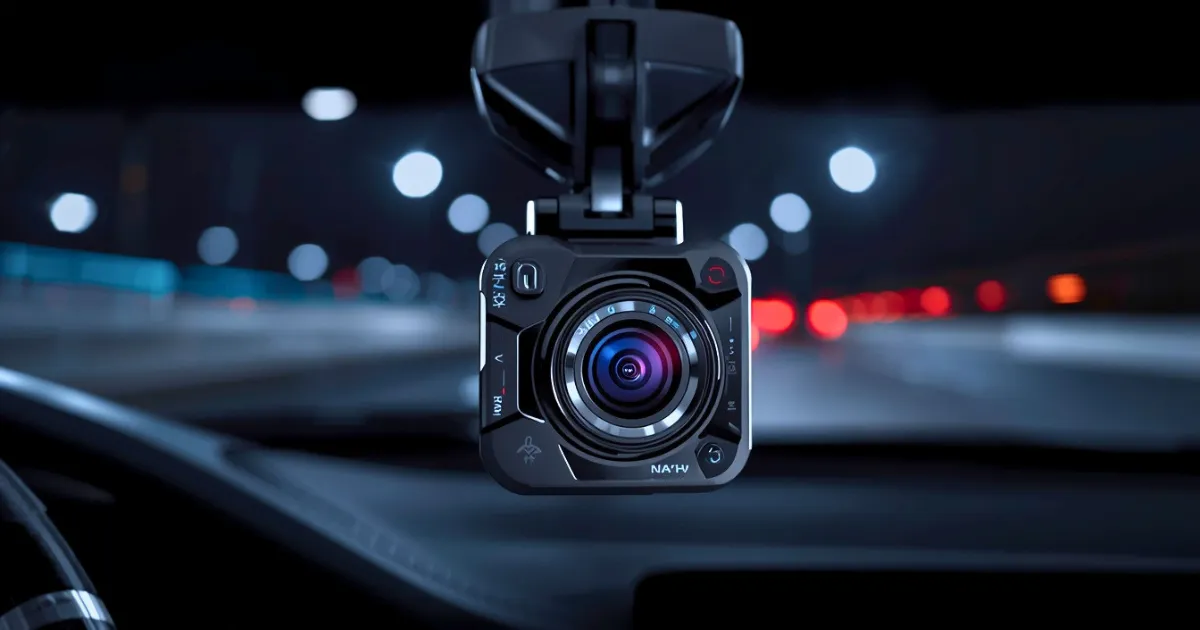
Most dash cams plug into the cigarette lighter socket, and that works fine for basic recording. The catch is that the camera dies the moment you switch the engine off, so it cannot watch your car while it is parked. Hardwiring solves that. You connect the camera straight to the fuse box, so it has power all the time and can record in parking mode while you are away.
This guide walks you through how to hardwire a dash cam to the fuse box, one step at a time, in plain words. You do not need to be an electrician. You do need patience, a few cheap tools, and the sense to stop if anything looks different from what you expected. Still choosing a camera? Our guide to the best dash cam for truck drivers covers features that matter on long drives, and most of those cameras work with a hardwire kit too.
What a Hardwire Kit Is, in Plain Words
A hardwire kit is a long power cable made for this job. One end plugs into your dash cam. At the other end are three wires, and partway along the cable sits a small control box. Most camera brands sell a kit for their own models, and it costs far less than the camera.
Table of Contents
Each wire has a job. The red wire connects to a fuse that only has power when the car is on. The yellow wire connects to a fuse that has power all the time, even with the engine off. The black wire is the ground, and it bolts to bare metal on the car body. The two power wires tell the camera whether you are driving or parked, so it switches modes by itself.
The small box protects your battery. It watches the battery voltage in parking mode, and if the voltage falls to a level you set, it cuts the power so the camera cannot drain the battery flat and leave you unable to start the car. That low voltage cut off is the whole reason to buy a proper kit instead of a plain cable.
The last piece is the fuse tap, a small adapter that plugs into a fuse slot and gives you a wire to connect to, while still holding the original fuse. Cars use several fuse sizes, so check the taps match yours.
Tools and Parts You Will Need
Gather everything first. Stopping halfway to hunt for a tool is how mistakes happen. You will need:
- The hardwire kit that matches your dash cam model
- Fuse taps in the right size for your car, if the kit does not include them
- A circuit tester, also called a test light, or a basic multimeter
- A fuse puller or needle nose pliers
- A socket wrench or nut driver for the ground bolt
- Plastic trim removal tools, so you do not scratch panels
- Zip ties and electrical tape
- Your car manual, or a photo of the fuse box diagram
The circuit tester is the one tool people try to skip, and it is the one you really should not. It costs very little, and it is the only safe way to know which fuses are live and when.
Step 1: Find Your Fuse Box and Read the Diagram
Most cars have a fuse box inside the cabin, and that is the one you want. Common spots are under the dashboard on the driver side, behind a panel at the end of the dashboard, or near the glove box. There is often a second box under the hood, but it is a long cable run from the camera, so the cabin box is the right choice.
Look at the back of the cover. Most carry a printed diagram that maps every fuse slot, says what each fuse protects, and shows its amp rating. Your manual has the same map. Take a clear photo of it before you touch anything.
Note a few candidate fuses: power seats, the sunroof, heated seats, or a slot marked as spare. Write down two or three options for constant power and two or three for switched power.

Step 2: Plan the Job and Stay Safe
You are working with low voltage, and a careful beginner can do this job. Still, a few rules keep it safe. Work in good light, and keep the engine off while you pull and fit fuses. Never pull a fuse if you do not know what it does, and do not disconnect anything under the dash that you cannot identify. Some cars run airbag wiring near the fuse box and along the pillars, so leave yellow wrapped wiring and anything marked as part of the airbag system alone.
One rule has no exceptions: never replace a fuse with one of a higher amp rating. A bigger fuse lets more current through than the wire was built for, which is a fire risk. Always match the original rating. If any step does not match what you see in your car, slow down, check the manual, or hand the job to a professional.
Step 3: Test Fuses and Pick a Constant Power Fuse
Clip the circuit tester ground lead to a clean metal bolt near the fuse box, then touch the probe to the small metal test points on top of a fuse. The light comes on when that fuse has power. First test with the engine off and the key out. A fuse that still lights up is constant power, which is what the yellow wire needs.
Pick a constant power fuse that feeds a simple circuit, like the power seats or a spare slot. Avoid circuits tied to safety systems, such as airbags or the main engine computer. If a fuse protects something you cannot identify, skip it and test another one.
Write down the slot number and its amp rating. You will come back to that slot in Step 5.
Step 4: Pick a Switched Power Fuse
Now find a switched power fuse. With the engine off and the key out, the tester should stay dark. Turn the key to the accessory position, or start the engine, and the light should come on. That change from dark to lit means the fuse only has power when the car is on, which is what the red wire needs.
A radio or accessory fuse often works well here. Again, write down the slot number and its amp rating.
Step 5: Connect the Fuse Taps and the Ground Wire
Put a fuse tap into each chosen slot. The tap holds two fuses. The lower slot takes the original fuse for that circuit. The upper slot takes a small fuse for the new wire. Use the same amp rating as the original fuse in both spots. Push the tap in firmly, and check it sits level and snug.
Connect the yellow wire to the tap on the constant power slot, and the red wire to the tap on the switched power slot. Use the connectors that came with your kit, and tug each one gently to check it is tight. A loose connection here can cause the camera to drop out on bumpy roads.
Last, connect the black ground wire. Find a clean metal bolt near the fuse box, loosen it, slide the ring terminal under it, and tighten it back down. Scrape away any paint or rust under the ring, because a dirty ground is one of the most common causes of odd camera behavior.
Step 6: Set the Low Voltage Cut Off and Test the Camera
Before you tidy anything away, set the low voltage cut off on the control box. Most kits let you choose a value like 11.8 volts or 12.0 volts. Pick 12.0 volts if you want to be safe, or 12.2 volts if your battery is older. A higher cut off protects the battery more but gives the camera less parking time.
Plug the cable into the dash cam, start the car, and check the camera turns on and starts recording. Then switch the engine off. The camera should stay on for a moment and then move into parking mode. Look for a small light on the camera, or a message on its screen, that tells you parking mode is active.
Wait a minute, then check the battery voltage with your multimeter if you have one. It should sit near 12.6 volts with the engine off. If the camera keeps recording in normal mode instead of parking mode, the red and yellow wires may be swapped. Swap them back and test again.
Step 7: Route the Cable Along the Headliner and Pillars
With the power side working, route the cable from the camera to the fuse box. Push the cable up into the gap along the top of the windshield, then down the A-pillar on the passenger side. Use a plastic trim tool to ease the cable behind the panels. Do not pull panels off. Just open a small gap and tuck the cable in.
Keep the cable clear of the airbag curtain along the A-pillar. The airbag sits behind that panel, and a cable across it could change how it opens. Run the cable along the edge of the panel, or in front of the airbag, never across it. If you are not sure where the airbag is, check your manual or ask a professional. For a closer look at cable hiding in general, see our guide to how to install a dash cam with no wires showing.
From the base of the A-pillar, run the cable down to the fuse box area, then tie it back with zip ties so it cannot slip into the pedals or the steering column. Leave a little slack near the camera so you can tilt it later without pulling the cable out.
Step 8: Tidy the Wiring and Check the Trims
Go back over the whole run and clip the cable in place every few inches. Press each trim panel back into place, and check the edges sit flat. If a panel bulges, the cable is probably bunched behind it. Open the gap again and spread the cable out flat.
Check the door and the glove box still open and close without catching the cable. Sit in the driver seat and look for any cable hanging in your line of sight. A neat install should be invisible from the driver seat.
Finally, test the camera again after tidying. A cable that got pinched during the trim work can cut the power, so a last check is worth the minute it takes.
Step 9: Let the Camera Run and Watch for Problems
Leave the camera running for a day and watch how it behaves. It should record while you drive, switch to parking mode when you stop, and wake up when the car moves or is bumped. If the battery warning appears, or the car is slow to start in the morning, raise the low voltage cut off by one step.
After a week, pull the fuse taps and look at the connections. They should be clean and tight. A tap that has worked loose will feel warm or look discolored. Push it back in firmly, and if it keeps working loose, try a different fuse slot.
If everything still works after a week, the install is done. Write down which fuse slots you used and the cut off value you set, and keep that note in the glove box. It will save you time if you ever need to change the camera or check the wiring.
Common Mistakes to Avoid
Most hardwire problems come from a small list of avoidable mistakes. Keep these in mind:
- Skipping the circuit tester. Guessing which fuse is live is how you end up with a camera that never enters parking mode, or one that drains the battery.
- Using a higher amp fuse. A bigger fuse can let a short circuit melt a wire before the fuse blows. Always match the original rating.
- Grounding to painted metal. Paint blocks the connection. Scrape the spot clean or pick a bare bolt.
- Running the cable across the airbag. A cable in the airbag path can change how it opens. Keep the cable along the panel edge.
- Setting the cut off too low. A very low cut off lets the camera run the battery down until the car will not start.
- Leaving slack near the pedals. A loose cable can drop into the pedal area. Tie it back out of the way.
- Forgetting to test before tidying. If you tuck everything away first, finding a fault means pulling it all apart again.

Frequently Asked Questions
1. Is it safe to hardwire a dash cam myself?
Yes, for most people. The job uses low voltage and simple hand tools. Read each step, test as you go, and stop if anything looks different from what you expected. If you are unsure about the airbag area or a fuse you cannot identify, ask a professional to finish the job.
2. Will hardwiring drain my car battery?
Not if the low voltage cut off is set right. The control box watches the battery and cuts the power before the voltage falls too low. Pick 12.0 volts or higher, and check the car starts normally the next morning. If it is slow to start, raise the cut off by one step.
3. Can I use any fuse slot?
No. Use a slot that feeds a simple circuit, like the power seats or a spare. Avoid airbag, engine computer, and other safety circuits. Test each slot with a circuit tester, and write down the amp rating before you fit the tap.
4. Do I need a special fuse tap?
Yes, the tap has to match the fuse size in your car. Common sizes are mini, low profile mini, and micro2. Check the fuses in your box first, then buy taps in that size. A tap that does not fit will sit loose and can cause dropouts.
5. My camera does not enter parking mode. What is wrong?
Most often the red and yellow wires are swapped. The yellow wire needs constant power, and the red wire needs switched power. Test both slots again with the engine off and on, then swap the wires if needed.
6. Can I hardwire a dash cam in any car?
Almost any car with a standard fuse box can take a hardwire kit. Some newer cars have a fuse box that is hard to reach, or use a different fuse size. Check your manual first. If the fuse box is buried or the layout is unclear, a professional can do the job quickly.
7. How long does parking mode last?
It depends on your battery and the cut off value you set. A healthy battery will often run a camera in parking mode for a day or two before the cut off stops it. A higher cut off gives you less time but protects the battery more.
Final Thoughts
Hardwiring a dash cam takes a little patience, but the result is worth it. Your camera watches the car while you drive and while it is parked, and you never have to think about the cigarette lighter socket again. Take it one step at a time, test as you go, and keep the wiring neat.
If any step felt unclear, read it once more before you start, and keep your manual nearby. A careful install now means fewer problems later, and a camera you can trust every time you get behind the wheel.