Introduction: Why Paint Your Car Yourself
Painting your car at home might sound intimidating, but with the right preparation, tools, and patience, it’s a project anyone can tackle. Whether you’re restoring an old classic, fixing scratches, or just giving your daily driver a fresh look, DIY car painting can save you thousands of dollars while giving you a rewarding sense of accomplishment.
Benefits of DIY Car Painting
When you decide to paint your own car, you gain total control over the process—from choosing the color to the type of paint finish. It’s an opportunity to learn a valuable skill while improving your car’s appearance. Many car enthusiasts start small with fenders or hoods before taking on full-body paint jobs, which is a smart way to practice without risk.
DIY painting also means you can experiment with custom finishes, metallics, or matte looks without paying a body shop premium. On top of that, you’ll understand exactly how your car’s paint system works, which makes future touch-ups or detailing much easier.
Cost Savings and Satisfaction
A professional paint job can range from $1,000 to over $10,000, depending on the finish and shop reputation. Doing it yourself can bring that down to $200–$800, depending on the products and tools you already have. Sure, you’ll invest time and effort—but imagine seeing your car gleaming in the driveway, knowing you did that. It’s pure satisfaction.
Understanding the Basics of Automotive Painting
Before you pick up a spray gun, it’s essential to understand what makes automotive paint different from ordinary paint. Cars endure heat, UV rays, rain, dust, and constant wear. Automotive paint systems are designed to resist these factors while maintaining shine and color depth.
What Makes Automotive Paint Unique
Car paint is built in layers. Each layer plays a specific role in protecting the vehicle and enhancing its appearance. From corrosion resistance to gloss retention, automotive coatings are engineered for both beauty and durability. Unlike wall or furniture paint, automotive coatings require controlled mixing ratios and proper curing times.
Key Layers: Primer, Basecoat, and Clearcoat
- Primer – The foundation that ensures the paint adheres to the surface. It also seals the bodywork and prevents rust.
- Basecoat – This is your color layer. It determines how the car looks visually and can include metallics, pearls, or solids.
- Clearcoat – A transparent protective layer that gives shine and shields the paint from UV rays and minor scratches.
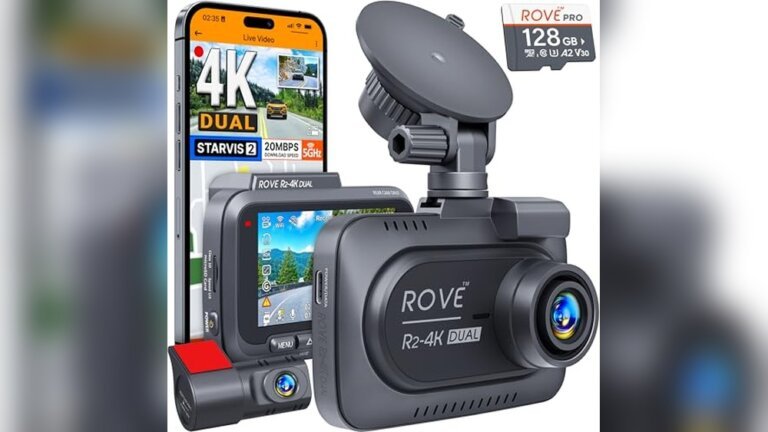
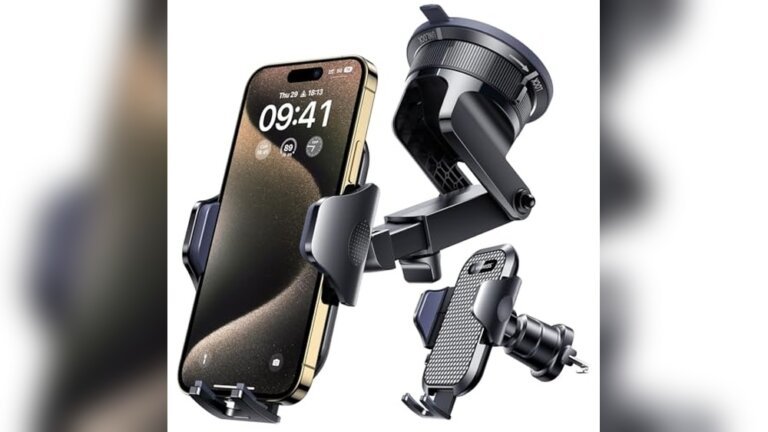
Tools and Equipment Overview

Image Credit: Amazon
At minimum, you’ll need:
- A spray gun (HVLP or LVLP preferred for efficiency)
- An air compressor (8–12 CFM capacity recommended)
- Automotive-grade sandpaper (400 to 2000 grit)
- Primer, basecoat, and clearcoat
- Masking tape, paper, and respirator mask
Optional tools like paint mixing cups, moisture traps, and inline regulators can make your results more consistent and professional.

- 4 Nozzles Set: The HVLP paint gun includes 1.4/1.7/2.0/2.5 mm nozzles for use spraying base coats, clear coats and other…
- HVLP Spray Gun: automotive paint gun is designed with a 15-hole copper atomizer, with HVLP spraying technology, has a pa…
- Adjustable Knob & Changeable Nozzles: auto spray gun has control knobs for full adjustment over spray pattern, fluid con…
Preparing Your Workspace
One of the biggest mistakes beginners make is painting in a poor environment. Dust, moisture, or bad airflow can ruin even the best paint. The goal is to create a clean, well-ventilated area where dust and bugs won’t settle on wet paint.
Safety Precautions and Ventilation
Paint fumes contain chemicals that can be harmful if inhaled. Always wear a respirator mask rated for paint fumes, safety goggles, and gloves. Make sure your workspace has good ventilation, ideally with fans that draw fumes away from you. Avoid open flames or anything that might spark paint fumes are flammable.
Choosing the Right Location
A garage or closed carport works best. You can also build a temporary paint booth using plastic sheeting to minimize dust. Hang the plastic from the ceiling to form walls, and use a fan and filter setup to circulate air while trapping overspray.
Setting Up Dust-Free Conditions
Clean your workspace thoroughly before painting:
- Sweep and mop the floor.
- Wipe down surfaces with tack cloths.
- Lightly mist the floor with water to trap dust before spraying.
Professional painters even wear paint suits to minimize fiber contamination. The cleaner your area, the smoother your finish will be.
Tools and Materials You’ll Need
Having the right tools is half the battle. Cheap or incorrect equipment often leads to uneven spray patterns and wasted materials.
Essential Equipment List
- Spray gun (HVLP/LVLP)
- Air compressor (with moisture trap)
- Paint strainers and mixing cups
- Sandpaper (400–2000 grit)
- Masking tape and masking paper
- Automotive primer, basecoat, clearcoat
- Respirator mask, gloves, and coveralls
Recommended Paint Guns and Compressors
For base and clear work, use a 1.3–1.4 mm nozzle HVLP gun such as:
- SATAjet 5000 B (pro level)
- DeVilbiss GTi / TEKNA ProLite (excellent mid-tier)
- Iwata LPH400 (great for clearcoats)
If you’re on a budget, brands like Fuji or Wagner offer hobby-grade systems that can still produce nice results for smaller jobs.
A compressor rated at least 8–12 CFM at 40 PSI is ideal. Make sure it has a water trap, as moisture in the air line will ruin paint.
Optional Tools That Make Life Easier
- Infrared lamps to speed drying.
- Paint stands for panels or doors.
- Panel wipes and degreasers to clean surfaces before priming.
- Polisher with foam pads for post-paint finishing.
Step-by-Step Guide to Painting Your Car
Painting a car at home involves patience, precision, and preparation. Rushing any step can lead to uneven finishes, orange peel, or peeling later. Follow this process carefully, and you’ll get a professional-grade result—even without a paint booth.
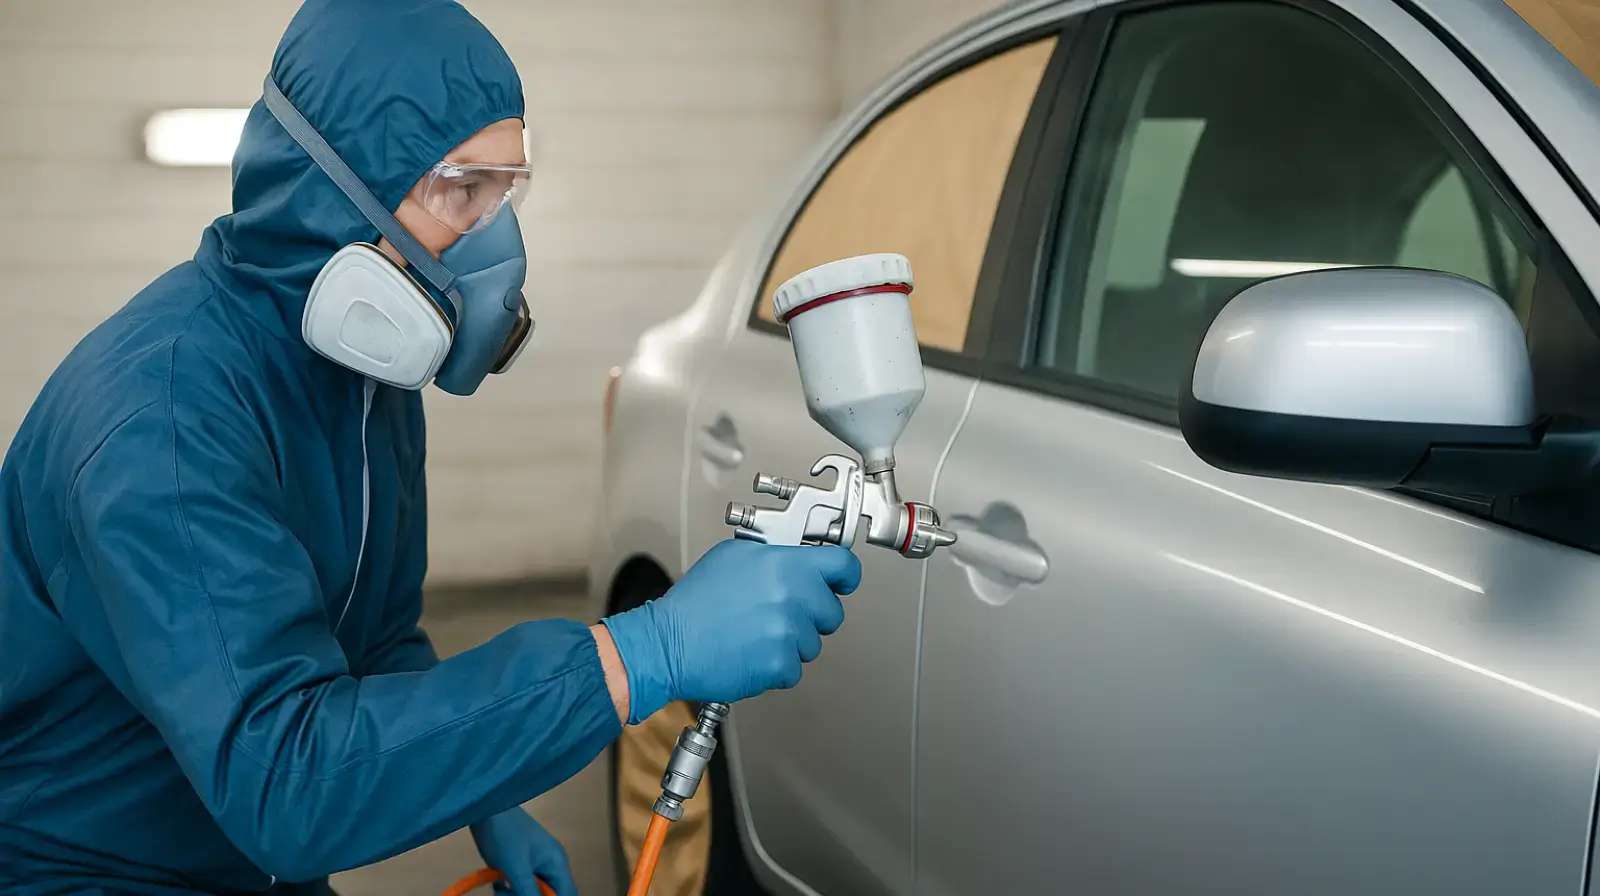
Step 1: Sanding and Surface Prep
Image Credit: Amazon
Start by cleaning your car thoroughly. Wash it with soap and water to remove dirt, grease, and road grime. Once dry, use wax and grease remover to clean the panels again. Any contamination left behind will affect adhesion.
Now comes sanding. Use 400–600 grit sandpaper to remove the old clearcoat and roughen the surface for primer. If there are dents or rust, repair them first using body filler and rust converter.
After sanding, wipe the car again with degreaser. You should feel a smooth, uniform surface—no shiny spots or rough patches. Proper sanding ensures the new paint bonds correctly and lasts for years.
Step 2: Masking and Priming
Image Credit: Amazon
Mask off windows, trim, tires, and any parts you don’t want painted. Use automotive-grade masking tape and paper for best results—cheap tape can let paint bleed through or leave residue.
Next, mix your primer according to manufacturer instructions. Typically, you’ll apply 2–3 coats of primer, waiting 10–15 minutes between coats. The primer fills small imperfections and creates a base for your color coat.
Once dry, lightly wet-sand the primer using 800–1000 grit sandpaper. This smooths out any texture and prepares the surface for basecoat.
Step 3: Applying Basecoat (Color)
Now for the exciting part color! Pour your mixed basecoat into the gun, strain it to avoid clogs, and apply light, even coats. Keep your spray gun about 6–8 inches from the surface and overlap each pass by 50%.
Use 3–4 coats depending on coverage. Let each coat flash off (become tacky, not wet) before applying the next. Don’t rush patience leads to a smoother, more consistent finish.
After the final coat, inspect for thin spots or striping. If needed, apply an additional layer. Let the basecoat dry completely before moving on to the clearcoat.
Step 4: Applying Clearcoat
The clearcoat protects your color and adds depth and shine. Mix your clear according to ratio (often 2:1 or 4:1 with activator). Apply 2–3 medium-wet coats, keeping the same spray distance and overlap.
Clearcoat is sensitive too thick and you’ll get runs, too thin and it’ll look dull. Aim for a wet, glossy look without dripping. Once applied, let it cure at room temperature (ideally 70°F / 21°C) for at least 24 hours.
Step 5: Curing, Polishing, and Finishing
After curing, you can begin finishing work. Start by wet sanding with 1500–2000 grit paper to remove imperfections or orange peel. Then, polish using a dual-action polisher and quality compound to bring out a deep gloss.
Finish with a soft microfiber and a high-quality wax or sealant. Now stand back and admire your work—you’ve just completed a professional-quality paint job at home.
Common Mistakes and How to Avoid Them
Even seasoned DIYers make mistakes when painting cars. Here are the top pitfalls—and how to fix or avoid them.
Uneven Spray or Drips
This happens when you spray too close or hold the trigger too long in one spot. Keep your hand moving steadily and overlap your passes. Practice on a scrap panel before you start the actual car.
If you get drips, let the paint dry and wet-sand the area smooth before reapplying another coat.
Dust and Contamination
Tiny particles can ruin an otherwise perfect finish. Always clean the workspace, use tack cloths between coats, and wear clean, lint-free clothes. If dust lands on wet paint, let it cure, sand it out gently, and polish afterward.
Orange Peel and Dull Finish
Orange peel looks like the texture of an orange’s skin—bumpy and uneven. It’s usually caused by incorrect gun setup or spraying too far from the surface. Adjust your air pressure, paint mix, and distance until you get smooth, wet passes. If it still appears, wet sand and buff it after curing.
Choosing the Right Paint for Your Car
Not all automotive paints are equal. Your choice affects durability, cost, and ease of use. Here’s a quick breakdown of the main types:
Acrylic Enamel
Acrylic enamel gives a durable, glossy finish and is easier to apply for beginners. It dries hard and doesn’t need a separate clearcoat (unless you prefer a deeper shine). However, it can be tricky to repair or blend later.
Urethane
The most common paint in professional shops. Urethane provides a long-lasting, glossy finish resistant to UV rays and chemicals. It requires proper protective gear since the fumes are toxic, but it’s the best choice for long-term durability.
Lacquer
Classic car restorers love lacquer for its deep shine, but it’s outdated for daily drivers. It requires multiple coats and frequent polishing. While beautiful, it’s less durable than urethane and prone to fading over time.
Waterborne vs. Solvent-Based Paint
Modern environmental regulations favor waterborne paints, which are safer and easier to clean up. Solvent-based paints remain popular for classic restorations due to their depth and durability. If you’re painting in your garage, waterborne may be the safer choice—just ensure proper airflow for drying.
How to Get a Professional Finish at Home
You don’t need a full spray booth to achieve professional-looking results. What you do need is precision, control, and the right technique.
Proper Gun Settings and Technique
Adjust your air pressure to around 25–35 PSI at the gun (check your manufacturer’s specs). Test the spray pattern on cardboard—look for even distribution without heavy spots.
Maintain a 6–8 inch distance from the panel, moving your wrist and arm together in a steady motion. Overlap passes by 50%, and never start or stop spraying directly on the car—trigger on and off at the edge of each pass.
The Right Way to Wet Sand and Polish
Once your clearcoat has cured, wet sand using 2000–3000 grit sandpaper with soapy water. Move in straight lines, not circles. After sanding, polish with a cutting compound, then follow with a fine polish to bring out mirror-like gloss.
A dual-action polisher makes this job easier and reduces swirl marks. Finish with wax for extra protection and shine.
Cost Breakdown: DIY vs. Professional Job
| Type | DIY at Home | Professional Shop |
|---|---|---|
| Paint & Materials | $150–$400 | Included |
| Spray Gun & Tools | $200–$600 | N/A |
| Safety Gear & Misc. | $50–$100 | Included |
| Labor | Free (your time) | $1,000–$8,000+ |
| Total Estimated Cost | $400–$1,000 | $1,500–$10,000+ |
As you can see, painting your car at home can save thousands, especially if you already own some equipment. The tradeoff is time and effort, but for car lovers, that’s part of the fun.
Maintenance After Painting
Now that your car looks brand new, maintaining that fresh shine is essential. Proper post-paint maintenance extends the life of your finish and keeps the color vibrant for years.
Allow Proper Curing Time
Even though your paint may feel dry to the touch after 24 hours, it actually takes 30–60 days to fully cure, depending on temperature and humidity. Avoid waxing, heavy washing, or exposing the car to extreme sunlight during this period. Instead, let it rest indoors or under a car cover whenever possible.
Washing and Cleaning Tips
When you do wash the car, use a pH-balanced automotive soap and a microfiber mitt. Avoid harsh detergents—they’ll strip the wax and damage your clearcoat. Rinse thoroughly and dry using a soft microfiber towel to prevent water spots.
Once the curing period is complete, you can wax your car. Apply a quality synthetic wax or sealant every 2–3 months to protect against UV rays and road grime. This not only maintains gloss but also acts as a sacrificial layer against minor scratches.
Protecting from the Elements
Whenever possible, park in shaded or covered areas. UV rays are the number one cause of fading. During winter, rinse off road salt frequently, as it can eat through clearcoat and cause corrosion. If you drive daily, consider ceramic coating for long-lasting protection—it provides a tough shield and makes cleaning easier.
Touch-Ups and Repairs
Minor chips or scratches happen, even with perfect paint jobs. Keep leftover paint for touch-ups. Clean the area, apply a drop with a fine brush, and let it dry. For larger damage, sand lightly and blend in a small section instead of repainting the whole car.
Safety Tips You Should Never Ignore
Car painting involves chemicals and high-pressure equipment, so taking safety seriously is non-negotiable. Your lungs, eyes, and skin all need protection.
Use a Proper Respirator
Always wear a NIOSH-approved respirator rated for paint fumes and organic vapors. Dust masks are not enough—they won’t filter out toxic solvents. Make sure the respirator fits snugly and change filters regularly.
Protective Clothing
Wear long sleeves, gloves, and coveralls to prevent skin contact. Many automotive paints contain isocyanates, which can cause long-term respiratory and skin issues if you’re not protected. A full paint suit with hood and gloves is best.
Fire Safety
Keep your workspace well-ventilated, and never paint near heaters, pilot lights, or open flames. Paint fumes are highly flammable. Always disconnect electrical devices that may spark, and store paint in tightly sealed containers away from heat.
Proper Waste Disposal
Never pour leftover paint or thinner down drains. Store used materials in sealed containers and take them to a local hazardous waste disposal facility. Responsible cleanup keeps you and the environment safe.
Final Thoughts: Is DIY Painting Worth It?
Painting your car at home isn’t easy—but it’s incredibly rewarding. You’ll save thousands of dollars, gain valuable skills, and enjoy the pride that comes from transforming your own vehicle.
While it does require patience, the results can rival a professional job if you take your time. Remember: success comes down to prep, practice, and precision. The more effort you put into cleaning, sanding, and applying even coats, the better your final finish will be.
For those who love working with their hands or restoring cars, this project is the perfect blend of creativity and craftsmanship. With proper tools, space, and safety measures, painting your car at home can be one of the most satisfying DIY projects you’ll ever do.
Conclusion
Painting your car at home is an achievable dream for anyone willing to put in the work. From prepping your workspace to perfecting the final polish, every step contributes to a finish you’ll be proud of.
You’ve learned about primers, paints, clearcoats, and all the key tools you’ll need. You also know how to avoid common mistakes and maintain your new paint for years. Whether you’re fixing scratches or changing your car’s entire color, following this guide ensures professional-level results on a DIY budget.
So roll up your sleeves, put on that respirator, and make your car shine like it just rolled off the showroom floor!
FAQs
Q1: Can I paint my car without a garage or spray booth?
Yes, you can paint outdoors if the weather is dry, wind-free, and above 60°F (15°C). However, you’ll need to protect the area with plastic sheeting to block dust and insects.
Q2: What’s the best color for beginners to paint?
Solid colors like white, silver, and gray are more forgiving. Metallic and dark colors show flaws more easily, so they’re better once you’ve gained experience.
Q3: How long does a DIY paint job last?
With proper preparation and care, a home paint job can last 5–10 years. Using quality paint and regular waxing extends its lifespan.
Q4: Do I need to remove the car’s old paint?
Not always. If the existing paint is in good shape, you can sand it to create a rough surface for the new layers. Only strip it down to bare metal if it’s peeling, rusted, or uneven.
Q5: Can I use a roller or brush to paint my car?
Technically yes—but it’s not recommended. Rollers can leave streaks and uneven textures. A spray gun offers better atomization and a smoother, professional finish.