A dash cam only helps you if it is on and recording, and a loose cable swinging in front of the windshield is annoying enough that many drivers end up unplugging it and tossing it in the glove box. The good news is that hiding the cable is not hard. Your car already has the gaps you need: the edge of the headliner, the trim on the A-pillar, and the space behind the glove box. This guide shows you how to install a dash cam with no wires showing, step by step, in about 30 to 45 minutes. No drilling, no cutting, and no damage to your car.
What You Need Before You Start
You do not need a workshop full of tools for this job. Most of it is probably already in a kitchen drawer.
The dash cam and its power cable
Start with the camera itself. Check that the power cable in the box is long enough to run from the top of the windshield, down the side, and across to the power socket, with a little left over. A longer cable makes the hidden route much easier. If you are still choosing a camera, think about how you drive. Long hours on the road call for a camera that stays reliable all day, and our guide to the best dash cam for truck drivers covers models picked with that kind of use in mind.
Table of Contents
A plastic trim removal tool
This is a small flat plastic pry tool that slips into the gaps around car trim. It costs very little, and it matters: a metal screwdriver can scratch trim panels and tear the edge of the headliner. The plastic tool flexes a little, so it opens a gap just wide enough for the cable and then lets the trim spring back into place.
Cable clips and zip ties
Adhesive cable clips hold the wire where there is no gap to tuck it into, such as behind the glove box. A few small zip ties keep the extra cable bundled neatly once the job is done. A pair of scissors helps you trim the zip tie ends.
The hardwire kit, explained in plain words
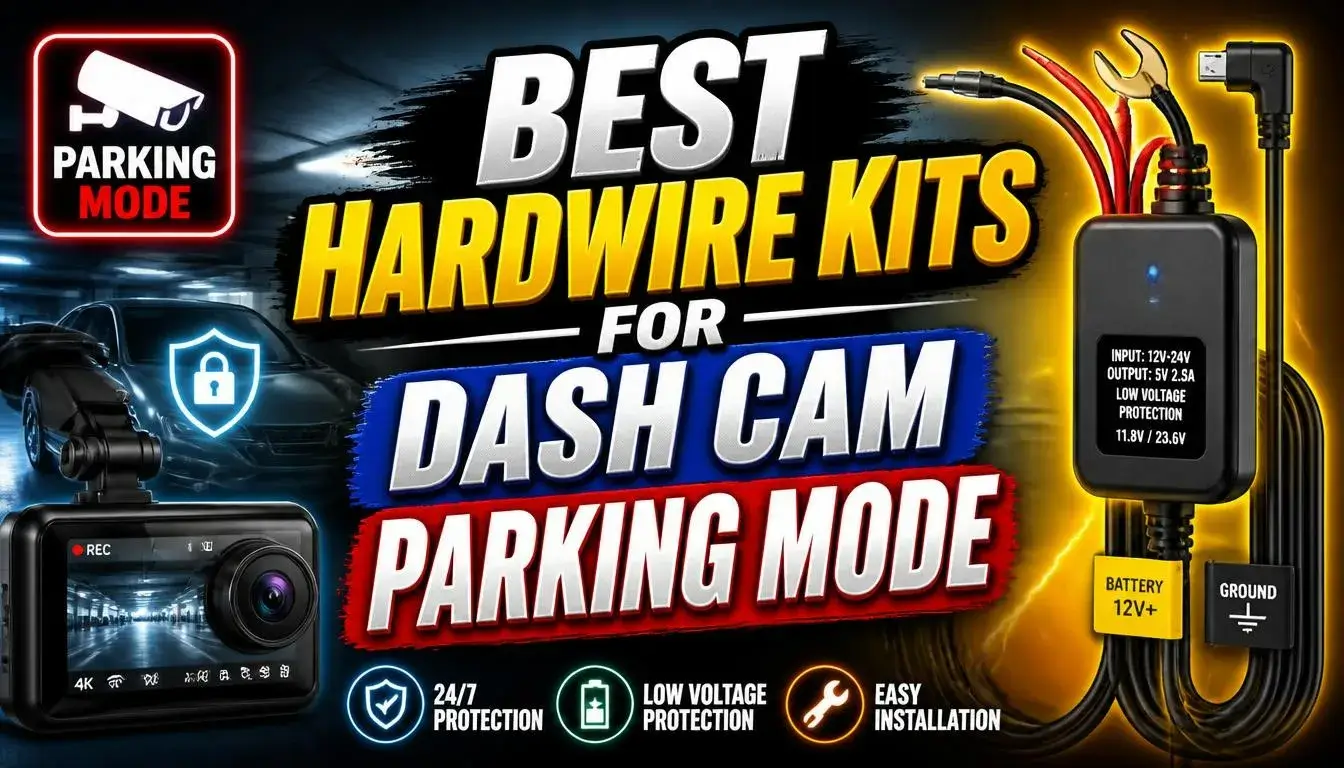
Most dash cams plug into a USB port or the 12V socket, the round socket older drivers know as the cigarette lighter. A hardwire kit is a different kind of power cable. It connects the camera straight to the car fuse box instead of using a socket. That keeps your socket free for a phone charger, and some kits let the camera record while the car is parked. The kit is optional. Running a cable to the fuse box and tapping into a fuse takes more care, so if that sounds like too much, skip it. The plug in route in this guide hides the wire just as well.
Step 1: Pick the Mounting Spot Behind the Rearview Mirror
The best spot for most cars is high on the windshield, right behind the rearview mirror, slightly toward the passenger side. From the driver seat the mirror hides the camera body, so it stays out of your view of the road. The lens still sees the full road ahead through clean glass.
Sit in the driver seat and hold the camera in place before you stick anything down. Check three things. First, the camera does not block your view. Second, the lens sits inside the area cleared by the windshield wipers, so rain and road spray do not blur the picture. Third, you can still reach the memory card slot and the buttons without a fight.
When the spot feels right, clean that patch of glass with the alcohol wipe from the box, or a clean cloth with a little glass cleaner, and let it dry fully. A mount stuck onto dusty or greasy glass will let go on the first hot day.

Step 2: Plan the Cable Route With a Dry Run
Before you peel off any adhesive or tuck any wire, lay the cable loosely along the full route. Start at the camera, go across the top of the windshield to the passenger side, down the A-pillar, behind the glove box, and finish at the USB port or 12V socket you plan to use. This dry run tells you if the cable is long enough and where the extra length will end up.
Most drivers route the cable on the passenger side because the glove box gives you a handy hidden space for the slack. If your socket sits on the driver side, or the cable comes up short, the driver side route works too. Just keep the cable well away from the pedals and the steering column on that side.
Step 3: Tuck the Cable Into the Headliner
Stick the camera mount to the glass now and plug the cable into the camera. Then work along the top of the windshield. The headliner, the fabric covered panel above the glass, has a soft edge along the windshield. Push the cable gently into that seam with your fingertips. Where the gap feels tight, slide the flat edge of the trim tool in first to open it a little, feed the cable in, and move on.
Work in short sections of a few inches at a time. Keep a little slack near the camera so you can still tilt the camera or unplug it later without pulling the whole run loose. When you reach the corner of the windshield, guide the cable around the bend and point it down toward the A-pillar.
Step 4: Run the Cable Down the A-Pillar, Safely
The A-pillar is the sloped post that frames the windshield on each side. This is the one step where you need to slow down, because many cars keep a side curtain airbag inside or just behind this trim. That airbag fires downward along the pillar when it deploys.
Safety rule, and it is not optional: the cable must never sit in front of the airbag. If an airbag fires with a cable across its path, the airbag can rip the cable loose and throw it across the cabin, and the cable can also stop the airbag from opening the way it should. The cable has to pass behind the airbag, or stay out of the pillar altogether.
The simple safe method for most cars is the weatherstrip route. The rubber seal around the door opening runs right beside the A-pillar trim. Open the door, pull the rubber seal back with your fingers, and lay the cable into the channel behind it, on the side away from the airbag. Press the seal back into place and the cable vanishes. If your car lets you ease the top of the pillar trim out slightly, peek in first and confirm where the airbag sits, then pass the cable behind it before you press the trim back. Never push the cable deep into the pillar blind. If you cannot see a clear path behind the airbag, use the weatherstrip route and nothing else.
Step 5: Cross Behind the Glove Box
At the bottom of the A-pillar, guide the cable toward the back of the glove box. On many cars the glove box drops down if you empty it and squeeze its sides inward, which opens up the space behind the dash. If yours does not drop, you can still reach behind it from the passenger footwell, or run the cable under the lower dash trim instead.
Keep the cable clear of anything that moves: the glove box hinges, the damper arm on the side of the box, and the blower fan for the heater and air conditioning, which sits in that same area on many cars. Fasten the cable to a fixed bracket or an existing bundle of wires with a zip tie so it cannot sag over time. Then close the glove box slowly and make sure it shuts all the way without pinching the cable.
Step 6: Plug In at the USB Port or 12V Socket
Bring the last stretch of cable out near the center console and plug it in. The adapter that came in the dash cam box, plugged into the 12V socket, is the safe choice. Some built in USB ports in cars supply only a small amount of power, and a camera that gets too little power can restart over and over or fail to record. If you do use a USB port and the camera acts up, try the 12V adapter before you assume the camera is faulty.
Tuck the final bit of cable along the edge of the console trim or hold it with an adhesive clip so nothing dangles near the gear lever or the passenger feet.
Step 7: Hide the Extra Cable Slack
You will always have cable left over, and this leftover is what ruins an otherwise tidy job when it hangs in loops over the passenger footwell. Coil the extra cable into a flat loop about the size of your hand, fasten it with a zip tie or a small hook and loop strap, and tuck the coil behind the glove box or inside the pocket of space under the dash where you crossed earlier. Keep the coil off sharp metal edges, which can rub through the cable covering over months of vibration. Give the cable a gentle pull at each end to confirm the coil holds and nothing slides loose.
Step 8: Set the Angle and Test the Recording
Turn the ignition on and confirm the camera starts recording on its own. Sit in your driving position and look at the camera screen or the phone app if your model has one. Aim the lens so the picture shows a bit more road than sky. A rough guide is about 60 percent road and 40 percent sky, with the horizon a little above the middle of the frame. That balance keeps the exposure right for number plates and traffic lights.
Now take a short drive and watch the footage back. Look for three things: number plates you can actually read, a picture that stays steady instead of shaking, and no cable or trim edge creeping into the corner of the frame. Then check one more time after dark. A camera that looks sharp in daylight can struggle at night, with blurred plates and dark corners. If you record a lot of night driving, our guide to the best dashboard camera with night vision explains what separates cameras that handle the dark from those that do not, and it is worth a look before your next upgrade.
Common Mistakes to Avoid
Most messy installs come down to the same handful of errors. Watch for these:
- Running the cable in front of the A-pillar airbag. It is the fastest route and the most dangerous one. Use the weatherstrip channel or pass the cable behind the airbag, every time.
- Sticking the mount to dirty glass. Dust and grease break the bond. Clean the spot, let it dry, and hold the mount pressed firmly for a slow count of thirty.
- Mounting the camera in your line of sight. A camera at eye level blocks more of the road than you think, and many places have rules about objects stuck to the windshield. Keep it behind the mirror.
- Yanking trim off with force. Trim clips break when you pull hard at one point. Work slowly with the plastic tool and ease each clip out.
- Leaving the slack hanging. Loose cable over the footwell gets kicked, snagged, and pulled out of its tuck. Coil it and tie it up behind the glove box.
- Skipping the test drive. A cable that looks fine in the driveway can slip out on the first bumpy road. Test, watch the footage, then call the job done.
Frequently Asked Questions
How long does it take to install a dash cam with no wires showing?
For a first timer, plan on 30 to 45 minutes. Most of that time goes on the A-pillar step and the test at the end. A second camera in another car usually takes half as long, because your hands already know the route.
Is it safe to tuck the cable into the A-pillar trim?
Yes, as long as the cable passes behind the airbag or stays in the weatherstrip channel beside the trim. The one thing you must never do is lay the cable across the front of the airbag. If you cannot confirm where the airbag sits in your car, use the weatherstrip route.
Do I need a hardwire kit to hide the wires?
No. The standard cable that plugs into the USB port or 12V socket hides in exactly the same way. A hardwire kit only changes where the power comes from. It frees up the socket and can add recording while parked, but it is not needed for a clean install.
Will tucking in the cable damage my car or its trim?
Not if you work gently. Fingertips and a plastic trim tool open the seams without bending or scratching anything, and the trim springs back when you are done. Damage happens when people force panels or use metal tools, so take your time.
What if my dash cam cable is too short for the hidden route?
First, try the route on the side closest to your power socket. If it still falls short, use a longer replacement cable made for dash cams, or use a power socket closer to the camera. Do not stretch a short cable tight across the airbag area just to make it reach.
Can I hide the wires for a rear dash cam the same way?
Yes, the idea is the same. The long cable to the rear camera usually runs along the edge of the headliner above the doors, inside the same seams, and down a rear pillar to the back window. Keep it clear of the curtain airbags along that path too, tucking it behind them or into the weatherstrip channels.
Why does my dash cam keep restarting after I install it?
Weak power is the usual cause. Many built in USB ports do not supply enough current for a dash cam, so switch to the 12V adapter from the box. Also check that the plug sits fully in the socket and that the cable is not pinched behind the glove box, which can break the wire inside its covering.
Final Thoughts
A hidden wire install is really just four habits done in order: mount the camera behind the mirror, tuck the cable into the headliner, keep it behind the airbag on the A-pillar, and hide the slack behind the glove box. Do it once, slowly, and the camera becomes part of the car instead of a gadget dangling off the glass. Then forget about it and let it record, which is the whole point of owning one.